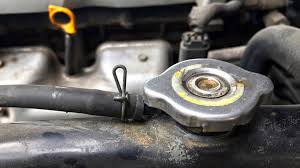
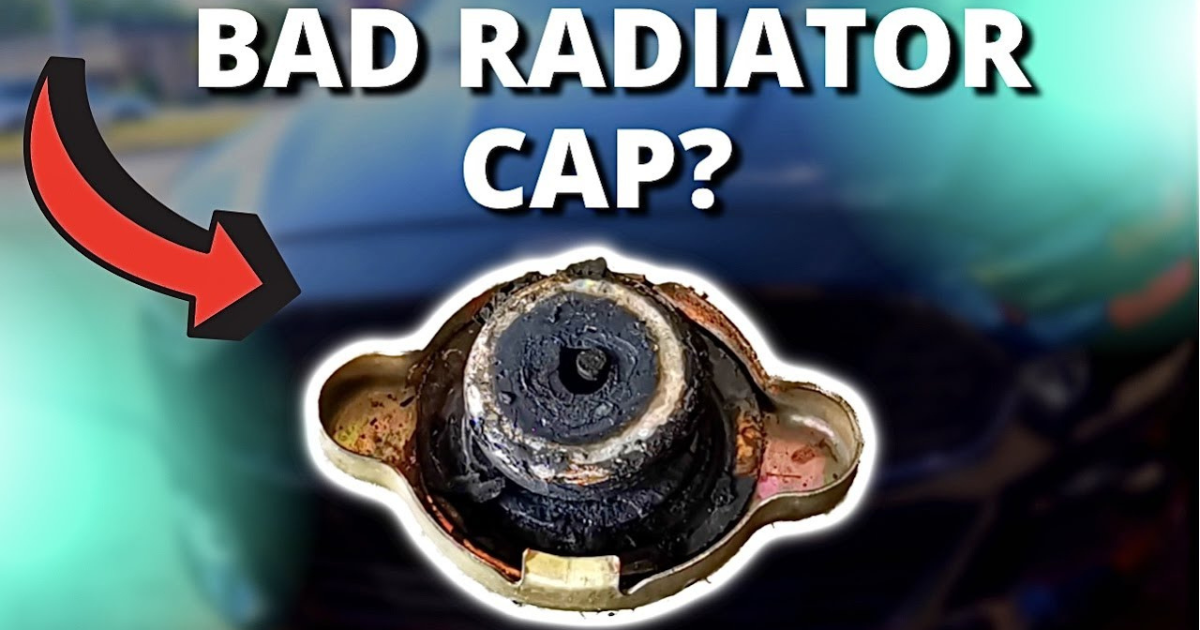
A radiator cap is a crucial component of a vehicle’s cooling system, responsible for maintaining constant pressure. A faulty radiator cap can cause numerous car problems, leading to complete engine failure. This article discusses the common symptoms of a bad radiator cap, how to test it, and the steps to replace it.
Symptoms of a Bad Radiator Cap

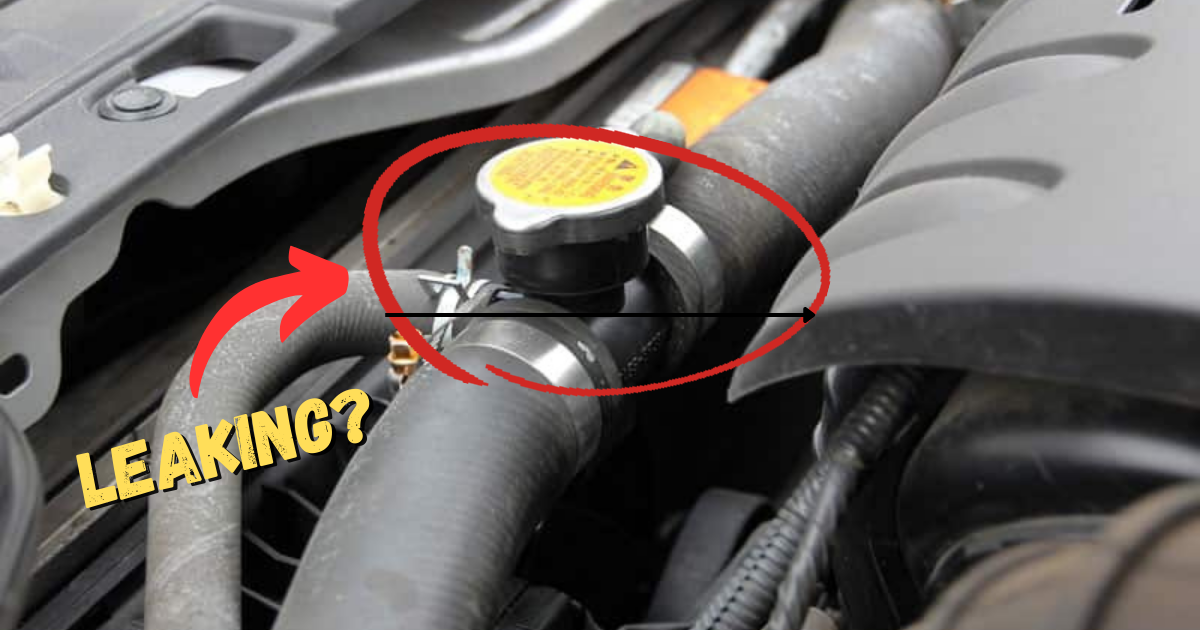
- Leaking Coolant
A radiator cap that holds more pressure than intended may cause the coolant hose to fail, leading to coolant leakage. Leakages can also occur when the radiator cap resists additional pressure injection, causing the coolant to leak from weak points in the system. - Overheating Engine
Failing radiator caps that cannot sustain sufficient pressure lower the cooling liquid’s boiling point, causing inadequate heat absorption from the vehicle engine. An overheating engine can damage different car parts, causing excessive damage to the vehicle. - Steaming Engine
Billowing steam from your vehicle’s hood is a symptom of a bad radiator cap, indicating that the coolant is boiling and escaping in gaseous form through a bad seal or radiator cap. - Bursting or Collapsing Radiator Hoses
Radiator pressure fluctuations due to a bad radiator cap cause hose warping. Low pressure creates a vacuum in the hose, causing it to collapse, while higher pressures tear the hoses. Torn hoses spray coolant at the engine bay, causing a reduction of coolant and leading to vehicle overheating. - Constantly Overflowing Reservoir
A bad radiator cap can cause the engine to release coolant to the overflow reservoir without the excess pressure trigger, leading to pressure loss in the radiator and causing the radiator coolant to boil off, resulting in overheating and engine failure.
How to Test a Radiator Cap
- Start your car and leave it on for about 10 minutes before opening the hood. Check for coolant leaks or bubbles from the cap and the hoses.
- If there aren’t any visible signs of leaks, use gloves or a thick cloth to slowly unwind the radiator cap. The loose coolant radiator cap should release small amounts of steam and bubbles, indicating that the radiator coolant is under the recommended pressure.
- Alternatively, you can use a radiator and cap test kit to test for pressure faults and leaks from your radiator cap. Connect the pressure gauge to the cap adapter and screw it tight. Fill the gauge with pressure by pumping the pump handle of the tester until it is filled. Check the tester gauge reading against the recommended PSI readings on your car manual.
How to Fix a Radiator Cap
- Turn off your car and let the engine cool down.
- Locate the radiator cap and slowly unwind it to open. Remove the cap by lifting it after you have successfully unscrewed it.
- Remove the mounting shield bolts to access the whole radiator.
- Loosen the radiator drain plug and drain the radiator coolant fluid.
- Remove all the mounting bolts from the reservoir and the coolant overflow tube from the radiator neck.
- Check that your radiator cap replacement matches the manufacturer’s radiator cap.
- Refill the radiator with fresh coolant and replace the old radiator cap with the new one.
- Tighten the mounting bolts as tight as you can and turn on your car to test your repaired cooling system.
Safety Tips for Opening a Radiator Cap
- Turn off your car and allow it to cool before popping your hood open.
- Use thermal-resistant gloves or a heavy rag to unscrew and open the radiator cap.
- Tilt the cap away from you when inspecting it.


