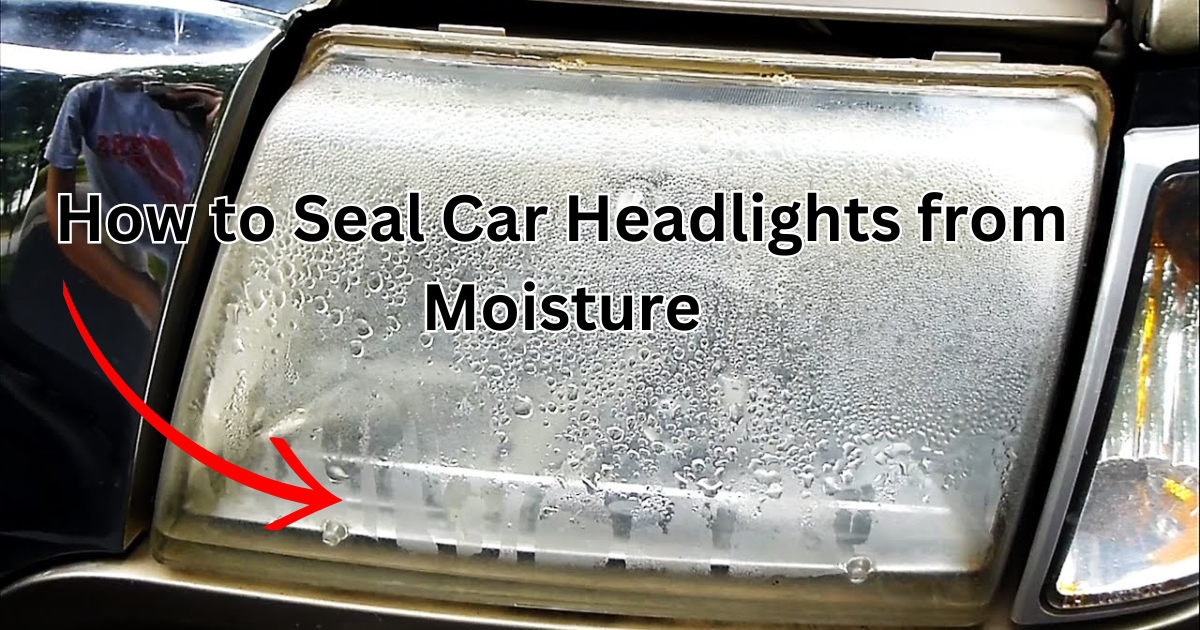
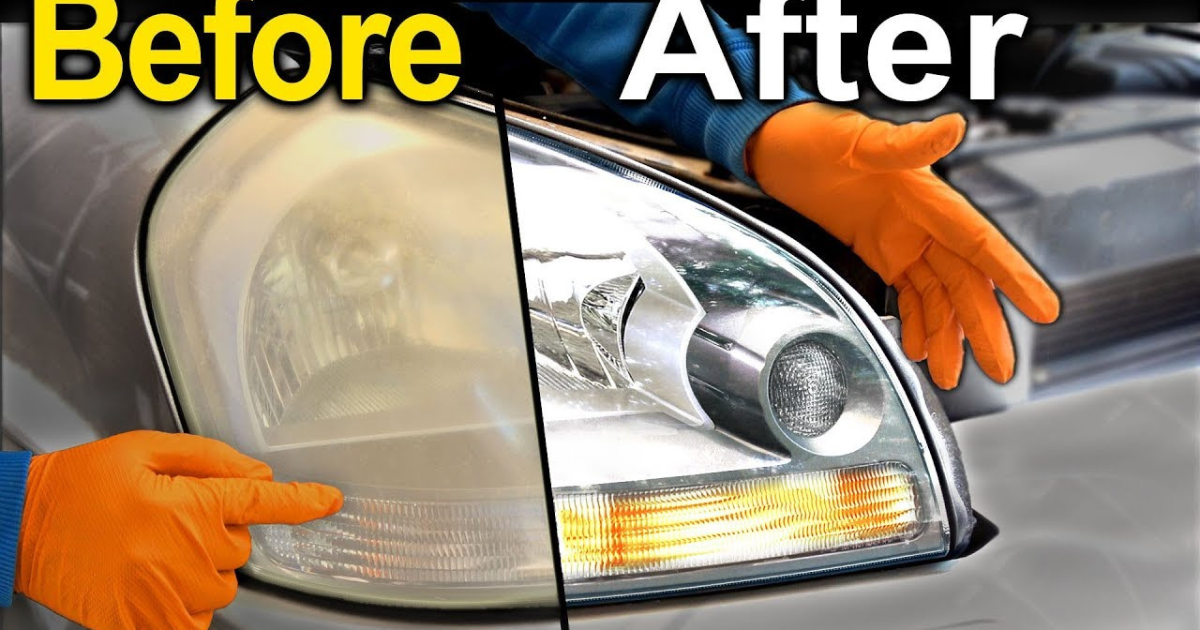
One typical problem with the vehicle’s lighting system, especially the headlights, is moisture or water droplets. At first glance, it might not seem like a big deal, but over time, it could impact the condition of the headlights and cause you to see less light output.
You should be aware of the best practices for drying out headlights because of the vital role they play in visualizing. Learning how to properly seal headlights from moisture is a certain method to stay one step ahead of this issue.
How to Keep Headlights Dry: A Step-by-Step Guide

To seal the headlights and prevent the problem from happening again, follow the underlined steps to drain any excess water from the headlight chamber.
First Step: Evaluation
If you want to discover where the problem is coming from, the first thing to do is check the headlamp. Look for holes in the vents and chips in the headlight assembly. Finding the source of the problem will give you a leg up when it comes to addressing the headlight’s moisture problem.
It may be necessary to remove the headlight assembly in order to do the inspection, which is a difficult task. Carefully remove the assembly from the device without damaging any of its parts. To begin removing the clamps, open the bonnet.
Obtaining the necessary equipment from your mechanic’s toolbox, such as pliers or a screwdriver, might simplify the task. Carefully detach the headlight pigtail and remove the bulb; be cautious not to contact the lens; then, place the bulb somewhere safe. Refill the assembly with clean water after draining the surplus water.
Remove any dampness by wiping the surface and then look for signs of leakage. The location of the water outlet can be determined by blowing into the lamp chamber. Make a mark with a magic marker pen anywhere you see water traces in the region you need to pay attention to.
Second Step: Clean the Headlight
Get the headlamp clean before you seal it. Before you seal the inner headlights, make sure they are completely dry and free of any debris that could get in the way. You can dry it in the sun after washing it or use a hair dryer if it’s too wet. The 3M 39008 headlight restoration kit is worth a shot if the light is yellowing or has any other problems. Along with your moisture removal work, this cleaning kit will eliminate any yellow streaks from the headlight lens, ensuring that you have optimum illumination.
Third step: Seal the cracks
The broken portion of the headlight is your new target. After you have a good notion of where the damage is, you grab your headlight sealant and get to work. Because of their resistance to heat and water, sealants made of silicon or vinyl will work. A permanent seal may be achieved with the majority of them. Evenly coat the affected area with a generous amount of sealant.
For areas you shouldn’t contact with your bare hands, a credit card or other piece of plastic can help you apply the sealing material evenly. After sealing, wait fifteen to twenty minutes before reassembling it in the car. It may take up to 24 hours for most sealants to cure, but once they’re set, you can apply them again.
While you’re checking the bulb, make sure to pay close attention to the vent caps and the O-ring. Usually, these components are made of rubber, so as the rubber gets worn, you’ll have to get a new one. If the O-ring isn’t gripping properly, you may need to replace the bulb or use dielectric grease.
You can also check to see whether the holes for the headlight vents are obstructed. If there is an obstruction, water cannot drain out of the headlamp chamber. To maximize efficiency, you can apply a desiccant packet. It absorbs moisture from the headlamp and prevents further buildup of moisture.
Method Two: Making a Drill Hole
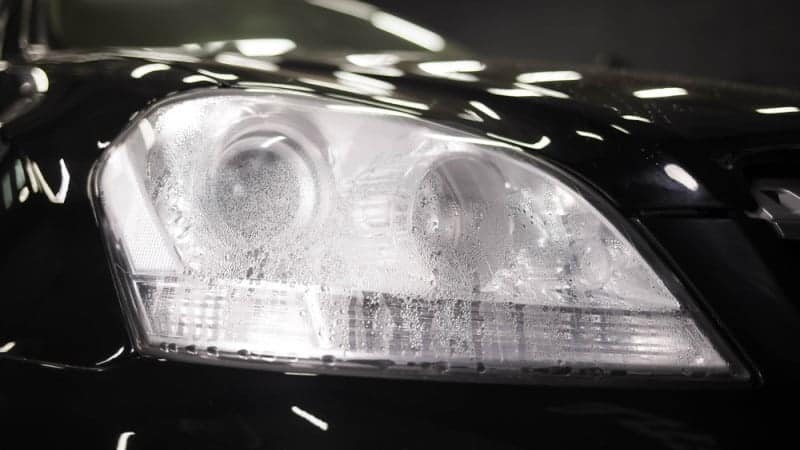
Drilling a hole in the headlight assembly is another possible solution to the problem of water getting inside the light. If your headlights are enclosed, you can alleviate the water pooling in the chamber by drilling a condensation hole. Carefully drill a hole in this light fixture without damaging any of the other parts.
Remove any remaining water and seal the hole with a sealant. To make sure you don’t run into the same problem again, check the damaged areas.
Conclusion
You might see condensation in the headlight, particularly first thing in the morning. You shouldn’t be worried about it because it is typical. This article explains what causes condensation on headlights and offers solutions to the problem. You need to check the assembly to see what’s wrong if the headlight is leaking water.
Once you’ve identified and addressed the problem, desiccant packets can be used to absorb moisture. Remember to clean and change the bulbs in your headlights as part of routine maintenance; doing so will make them brighter.

