Many car owners struggle with how to remove a stripped spark plug. Two basic issues can strip your car’s spark plug. Working on the spark plug when the engine is hot is the first reason. Aluminum swells when hot, grabbing steel spark plug threads. Aluminum is usually weak when hot. Because of this, removing the plugs may also remove the aluminum threads.
Therefore, let the aluminum head cool before removing the plugs. The second cause of stripped plugs is rusting. It arises “between two dissimilar metals such as steel and aluminum.” Installing spark plugs “without using an anti-seize compound between the aluminum and steel threads” may strip out the threads regardless of head coolness. Dielectric grease prevents spark plug stripping.
Can a stubborn spark plug be removed? Possible. Here’s how…
Step-by-Step: Remove a Stripped Spark Plug

Needed Items
- Chase spark plug threads
- Blowgun, store air
- Spark plug boot remover
- Ratchet with spark plug socket
- Gloves
- Safety glasses/goggles
- Underhood work light
- Some new plugs
- Penetrating oil
- Dielectric grease
- spark plug extractor
Step #1: Determine if special procedures are needed to access the spark plugs. Sometimes you must remove or reposition parts. Your car’s service manual has all the details.
Step #2: Find spark plugs. Near the engine’s top in most automobiles. Some autos require removing the ignition coil to access all spark plugs. Some car plugs feature big wires. Grab the wire by the boot (the engine-plug connector), rotate it, and pull it off.
Step #3: Blow dirt and debris from the plughole using the blowgun. It greatly reduces debris entering the cylinder when you remove the spark plug.
Step #4: Unscrew each spark with an extension, ratchet, and spark plug socket.
Remember to remove one spark plug at a time. If you extract them all at once, you may have trouble reattaching them because each is tied to a certain area. Your ride could be in trouble. Write down or label each wire before removing both plugs. With 8-cylinder engines, it’s easy to forget which wire goes where thus this is crucial.
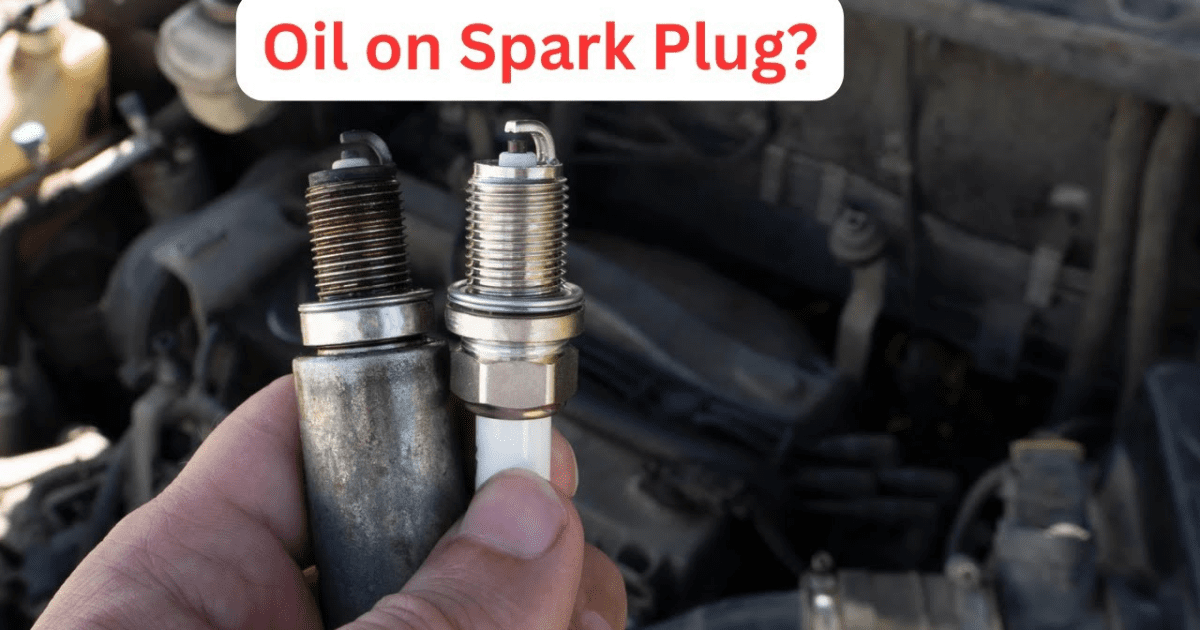
Step #5: Remove each plug and inspect it to determine the engine’s health. An engine running regularly should have a greying tan or brown plug tip. If the tip has deposits or another color, the engine is running poorly. The service handbook usually provides a chart that evaluates engine performance based on tip appearance.
Step #6: Apply a thin coat of anti-seize compound to the threads before installing new plugs. Be careful not to touch the bottom threads.
Step #7: Thread one of the new plugs into the plughole until you can’t turn it with your fingers. After that, tighten it to the service manual specifications with a torque wrench. Slip a rubber hose over the plug’s end to use it as a tool to thread it in.
Step #8: Fully seat the spark plug wire and ignition coil on the new spark plug.


