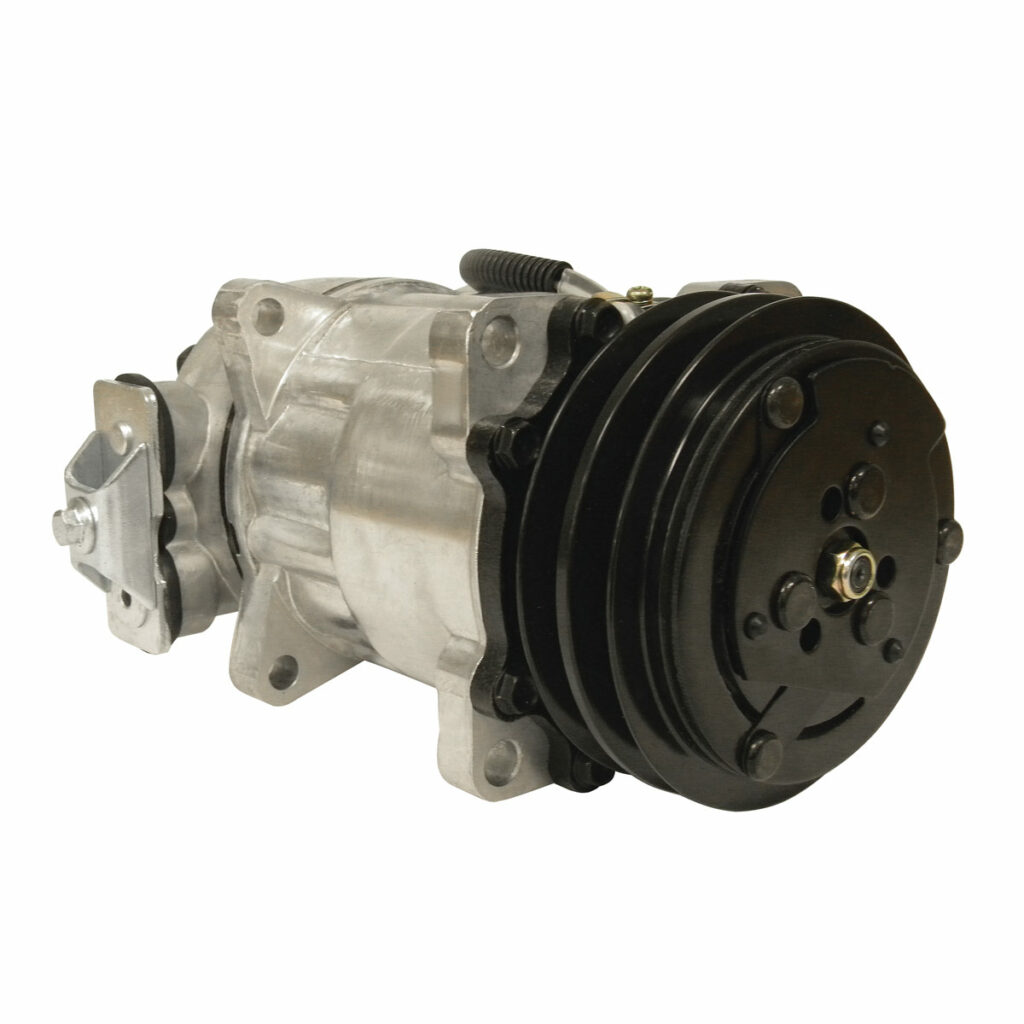
Air conditioning in your car relies on the AC compressor. It pressurizes and circulates refrigerant for optimal air conditioning system performance. AC compressors constantly turn on and off, causing wear and tear. Like any mechanical automobile part, it wears out and needs replacement.
Why is the AC compressor used?
The compressor pressurizes refrigerant before transferring it to the condenser, which turns it into liquid. Without an AC compressor, air conditioning won’t work well.
Signs of a malfunctioning automobile AC compressor

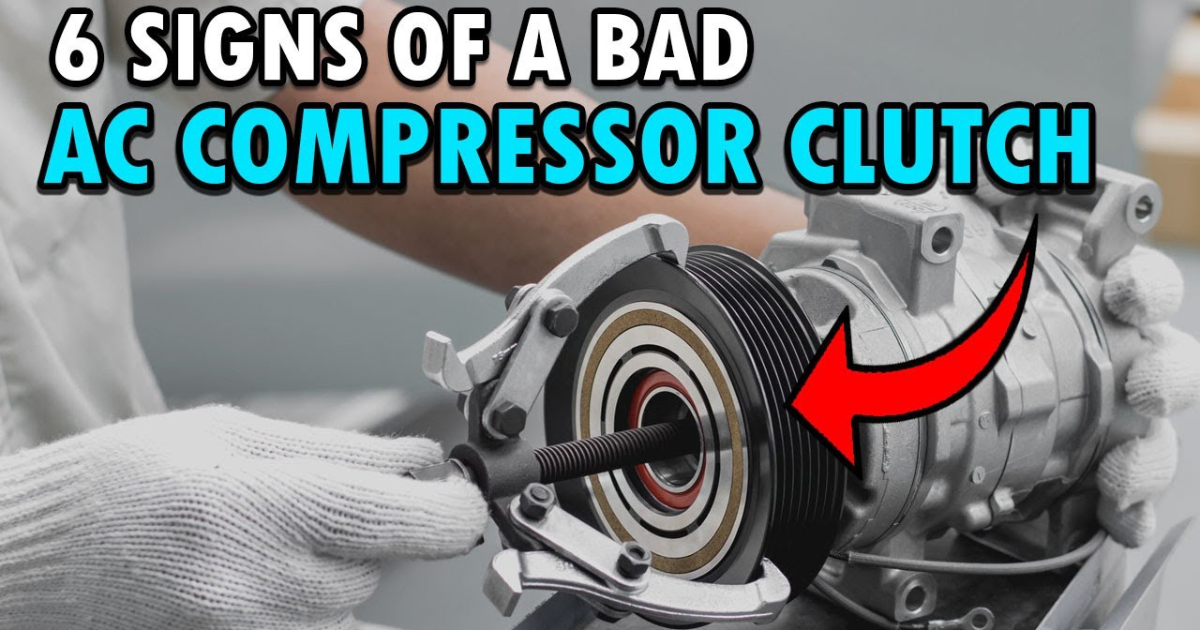
A car’s poor AC compressor symptoms are easy to spot. Bad AC compressor indications are easy to spot. A bad AC compressor causes symptoms. Looking for these indicators can help you diagnose and replace your AC compressor and save costly repairs.
- High cabin temp
- Loud AC compressor noise
- Leaking moisture
- Is the compressor clutch rigid?
- Circuit breaker trip
How to identify the AC compressor in a car
After seeing one or more of the above indicators of a malfunctioning AC compressor, you may want to learn how to test a car AC compressor to avoid replacing a working one. There are several simple ways to diagnose your car’s AC compressor.
- Monitor temperature changes
- Check physical damage and oil leaks
- Make sure the clutch spins freely.
- Listen for screaming and skipping.
- Check refrigerant leaks
Step 1. Check temperature fluctuations: If your AC system produces warm air, your compressor may be failing. If the AC works, examine if the temperature varies; a faulty compressor is likely.
2. Inspect physical damage and oil leaks: Look for rust, damage, and oil leaks on your AC compressor. These indications suggest a faulty automobile AC compressor. Oil-leaking compressors perform poorly and may fail prematurely. Low oil in an AC compressor due to a leak causes friction and fluctuating temperature when the system turns on.
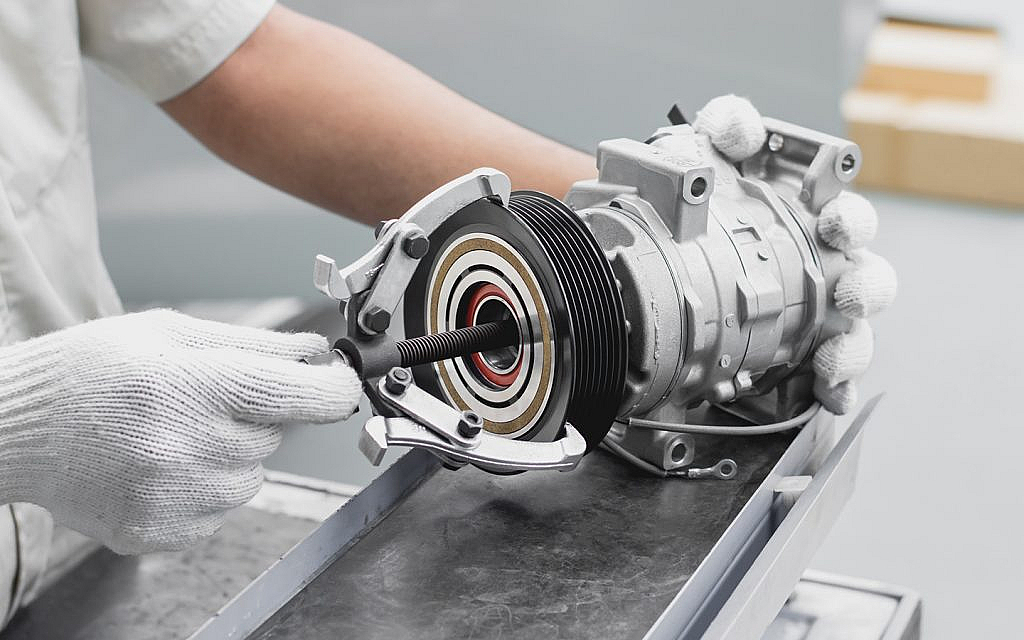
Step 3. Check clutch free rotation: Check the AC compressor clutch for grinding or difficulty turning. The clutch should turn freely. A bad clutch might ruin your compressor.
Step 4. Listen for screaming and skipping: Start the engine, set the AC to the coolest, and max the fan. Open the hood and inspect the compressor clutch for engagement. Squealing and skipping can result from a bad compressor unit not engaging.
Step 5. Check refrigerant leaks: Your car’s AC refrigerant should not leak or have low Freon. Low Freon indicates an air conditioning leak, which should be found and fixed. An electronic AC refrigerant detector may easily locate leaks.
How to replace the AC compressor?

The AC compressor compresses the refrigerant to high automobile AC pressure and circulates it through the air conditioning system. No AC compressor means no refrigerant circulation, therefore your air vent won’t blast cold air. How to change the car’s aircon compressor begins here.
Things and supplies needed:
- Thread lock
- Screwdriver drivers
- Pliers
- Ratchet handle
- Universal joint socket
- Wrenches
- Socket sets
- Clean rag
- Compressor oil
- Refrigerant
- Cup bolts
Step 1. Remove engine bay compressor unit
Avoid short circuits and voltage spikes by disconnecting the battery negatively terminal. Remove engine covers to access the serpentine belt. Pry the belt tensioner with the right mechanic tools box tool to remove the belt. Find and disconnect compressor tubes and hoses. Additional parts or accessories may impede compressor access, depending on the car model. Wrenches can loosen and disconnect these components’ fasteners and wirings.
Keep engine bolts and connectors in a cup bolt. Unbolt the compressor’s high- and low-pressure pipes. Use a clean rag to block the refrigerant line ends to keep dirt out. Remove the compressor’s electrical connector with a flathead screwdriver. Use sockets and ratchet handles to secure the bottom and upper mounting bolts.
A universal joint socket may release mounting nuts. Unbolt everything before loosening. Hold the AC compressor by hand while removing the last bolt to safeguard it.
Step 2. Checking old compressor
You must inspect the old compressor before disposing of it. You’ll learn why it failed. Metal shavings must be purged if the compressor clutch grinds. Reliable or local stores sell air conditioning flush kits to clear the orifice tube or expansion valve. Check and clean exhaust ports and refrigerant lines for metal shavings. The orifice tube may need to be replaced if completely obstructed.
Step 3. New AC compressor access
Close and access the new and old compressors. Since there are various AC compressor manufacturers, their designs may differ, but installation should be the same. The exhaust and intake ports must match. Check the AC clutch outer diameter and rib count. Transfer any accessories from the old compressor to the new one. Check the new compressor user handbook for pre-added oil; if not, apply the appropriate amount. Use a wire brush to clean the old bolts, add thread lock if desired, and then mount them on the new compressor.
Step 4. Replace O rings
O rings prevent refrigerant leaks in compressor high- and low-pressure lines. When replacing your vehicle’s aircon compressor, replace those seals to prevent refrigerant leakage.
Go to high and low refrigerant lines, carefully remove old seals, replace them, and massage oil. Old and new o rings should match refrigerant lines. Want to continue without replacing the old o-ring? Avoid that—it can leak refrigerant.
Step 5. Installing the compressor
Place the new compressor on the removed compressor in the engine bay. Fix the compressor and tighten nuts by hand, then torque with sockets or wrenches. Install the high and low refrigerant lines with the blockages removed and tightened. To access the compressor unit, install the electrical connector, serpentine belt, and any other components you removed. Finally, add refrigerant to the AC system. This YouTube video explains car AC compressor replacement.


