Oxygen sensors play a crucial role in modern cars, ensuring proper combustion and reducing emissions. These sensors measure the air-fuel ratio in the exhaust system, allowing the engine to run efficiently and safely. However, problems with oxygen sensors can lead to the check engine light coming on, indicating a potential issue.
Understanding the Significance of Oxygen Sensors
The oxygen sensor, often referred to as the O2 sensor, is a vital component in a car’s engine management system. It is typically located in the exhaust system, with four sensors in total. It measures the amount of oxygen in the exhaust gases and provides feedback to the engine control unit (ECU). This information is crucial for adjusting the air-fuel mixture, optimizing combustion, and reducing harmful emissions.
Identifying the Oxygen Sensor Location
To address oxygen sensor problems, it’s crucial to identify the specific sensor causing the issue. This involves understanding the engine bank and cylinder numbering. The sensors are grouped into two banks, with two sensors in each bank. One common reason is the check engine light, which is on due to a problem with bank 2 sensor 1.
Similarly, the other most common issue with oxygen sensors is the heater inside the sensor breaking down, especially in Lexus/Toyota cars. This heater helps the sensor work at lower temperatures, ensuring accurate readings. When the heater breaks down, it can cause problems with emission tests, leading to the check engine light coming on.
DIY Process for Oxygen Sensor Replacement
To fix this issue, the best solution is to replace the faulty sensor. Here is a step-by-step guide on how to replace the oxygen sensor:
1. Prepare the Vehicle

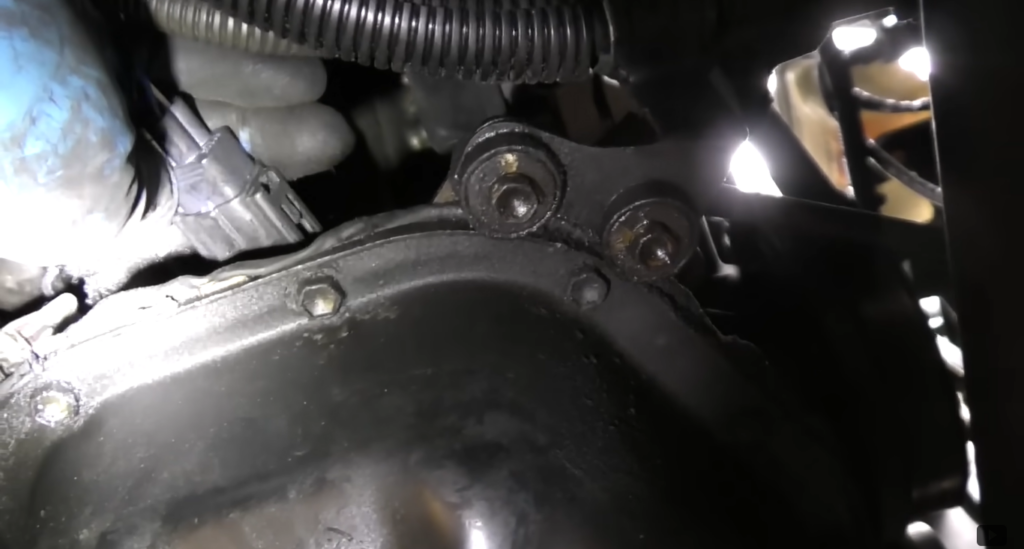
Start by lifting the car using appropriate equipment to gain access to the undercarriage. Remove any plastic covers that may be obstructing the oxygen sensor.
2. Disconnect the Sensor Clip

Disconnecting the sensor clip can be challenging. Exercise caution and patience to avoid damaging the clip or wiring.
3. Use an Oxygen Sensor Removal Tool

Employ a specialized oxygen sensor removal tool to loosen and extract the old sensor safely. This tool ensures that you can navigate the tight spaces around the sensor without causing damage.
4. Install the New Oxygen Sensor

Carefully install the new sensor by hand, ensuring a snug fit. A wrench can then be used to secure it in place, guaranteeing proper functionality.
5. Reconnect the Sensor Clip and Reassemble

Once the new sensor is securely in place, reconnect the sensor clip. Follow this by reassembling any plastic covers that were removed earlier.
Successful Replacement and Benefits
Successfully replacing the oxygen sensor, results in the check engine light turning off. This not only resolves the immediate issue but also ensures that the engine operates at its optimal level, improving fuel efficiency and reducing harmful emissions.
With the right knowledge and tools, replacing a faulty oxygen sensor can be a rewarding DIY project, saving both time and money. A successful replacement not only addresses the check engine light but also contributes to overall engine performance and environmental sustainability.


