All driving wheels must have wheel bearings in order for them to spin easily and with minimal resistance. A wheel bearing consists of a race and a set of balls, either round or tapered, enclosed in metal. The wheel hub contains it. The car will make a buzzing or rumbling sound if the wheel bearings aren’t tight.
Furthermore, shakiness will be felt by the afflicted wheels as well. To remedy the wobbling and unusual sounds, you can tighten the wheel bearing, which is an essential DIY job that you can do at home using ordinary hand tools. In order to facilitate your task, this article will provide instructions on how to tighten wheel bearings.
Step-By-Step Methods for Tightening Wheel Bearings
It is up to you to figure out how to tighten the wheel bearings on a trailer or how to tighten the tapered wheel bearings. Here is a streamlined tutorial that will show you how to make the necessary adjustments.
1. Getting Ready
Gather all of the equipment you’ll need before you begin. Things Required
- Pliers
- Screwdrivers
- Platform jacks
- Protective clothing for the hands
- Fastening Mechanisms
- Disc brakes
- Fastener kit
- A torque wrench
2. Loose Wheel Nuts
Put the car in park on a flat, firm surface. Stop the wheels from turning. If you need to work on the front wheels, for instance, you should stop the back wheels from moving.
Get out your ratchet and a big wrench; you’ll need them to snug the wheel bolts. Remove the lug nuts when you’ve broken them loose.
3. Jack up the Car and Loosen the Wheel Bolts
Using the jack and jack stands, raise the vehicle. The car will stay put on the jack with this support. The jack stands must be positioned correctly on your vehicle. The proper location for your jack and stands can be found in your owner’s manual.
Now set aside the tire you wish to use to tighten the wheel bearing. Either tighten the bearing on a single wheel at a time, or do the same for both the front and back wheels at the same time.
4. Get Rid of the Brake Pads
Take out the brake calliper and hanger if you like. Still, just take out the brake pad to follow along with the instructions. The tire will be able to rotate with ease after this.
Return the tire and secure it using three nuts. Wiggle the tire by gripping the top and bottom sidewalls. If the wheel bearing is loose and needs to be adjusted, the tire will wobble. Then what? Go on to the following step after removing the tire.
5. Take the Dust Cover Off
To remove the dust cover, get a screwdriver and a small hammer. Approach the bearing housing from the edge of the dust cover and insert the screwdriver into it. Use the hammer to tap it off, and then peel it off.
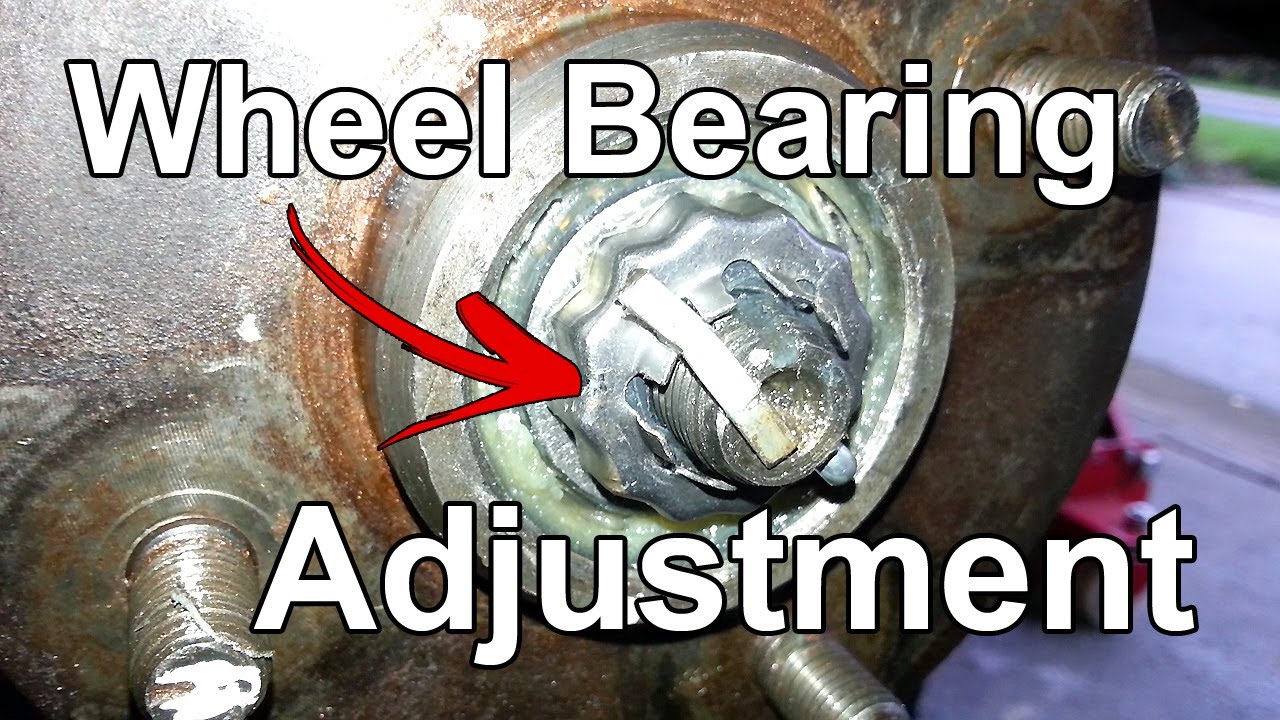
If there is any excess grease, remove it. Once you’ve straightened the cotter pin, use pliers to remove it. If it’s really stuck, try tapping it with your wrench as you wiggle the other edge with your pliers. After moving the cotter pin to a safe location, remove the pin retainer. A retainer with grooves surrounding it resembles unscrewed nuts.
6. Tighten the Wheel Nut
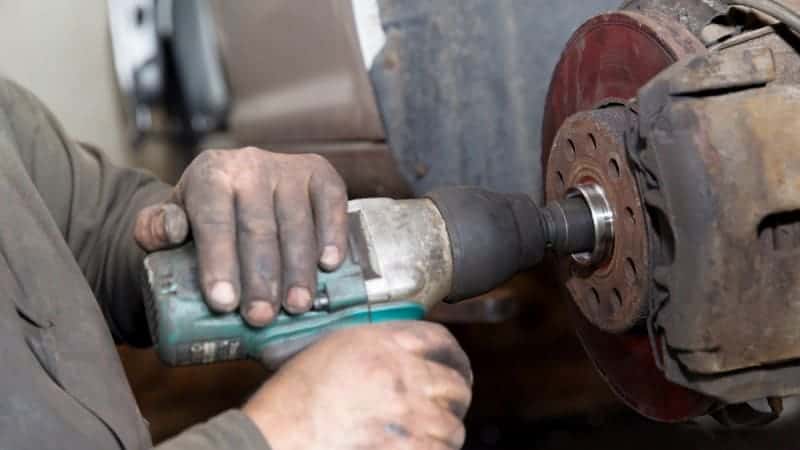
Reinstall the tire and secure the lug nuts. Now you need a ratchet and a large wrench socket to secure the adjustment nut. To modify the play/clearance, simply turn the tire while tightening the adjustment nut; to loosen it, simply turn it the other way.
Remove any wiggle room from the bearing by snugging the nut. If you think the nut has pushed back the bearing and everything is fine, jiggle the tire again to make sure.
Make sure everything is alright and don’t rush things. When wheel bearings are overtightened, it often leads to stiff tires. Overtightening the bearing will make it difficult to turn the tire freely. Make sure there’s no excess play and loosen it a little.
7. Take the tire Off and Put Everything Back Where it Belonged
Taking the tire off is the next step after making good adjustments to the wheel bearings. After that, put the pin retainer back in place and check that it fits snugly before passing the cotter pin. In order for the retainer to fit properly, you might need to modify the adjustment slightly.
Reattach the cotter pin thereafter. A new cotter pin can be purchased or the old one can be reused. Bend the two tips after passing the pin to keep it from slipping off.
Put the cotter pin back in place and give it a little whack with a tiny hammer. Make sure it’s sitting correctly. Finally, double-check your work and fix the brake pads.
8. Lower the Wheels and Fix the Tire
Get the flat tyre fixed and the lug nuts snug. Raise the car, take the jack stands off, and lower the jack. Retighten the lug nuts according to the manufacturer’s specifications when the wheel is lowered onto the ground.
Closing Remarks
If you want to avoid calling a mechanic, you can tighten the wheel bearing on your own. Wheel bearing adjustments might be done in a variety of methods. Consequently, I have included my method in this “how to tighten wheel bearing” instruction. But it’s really easy.
