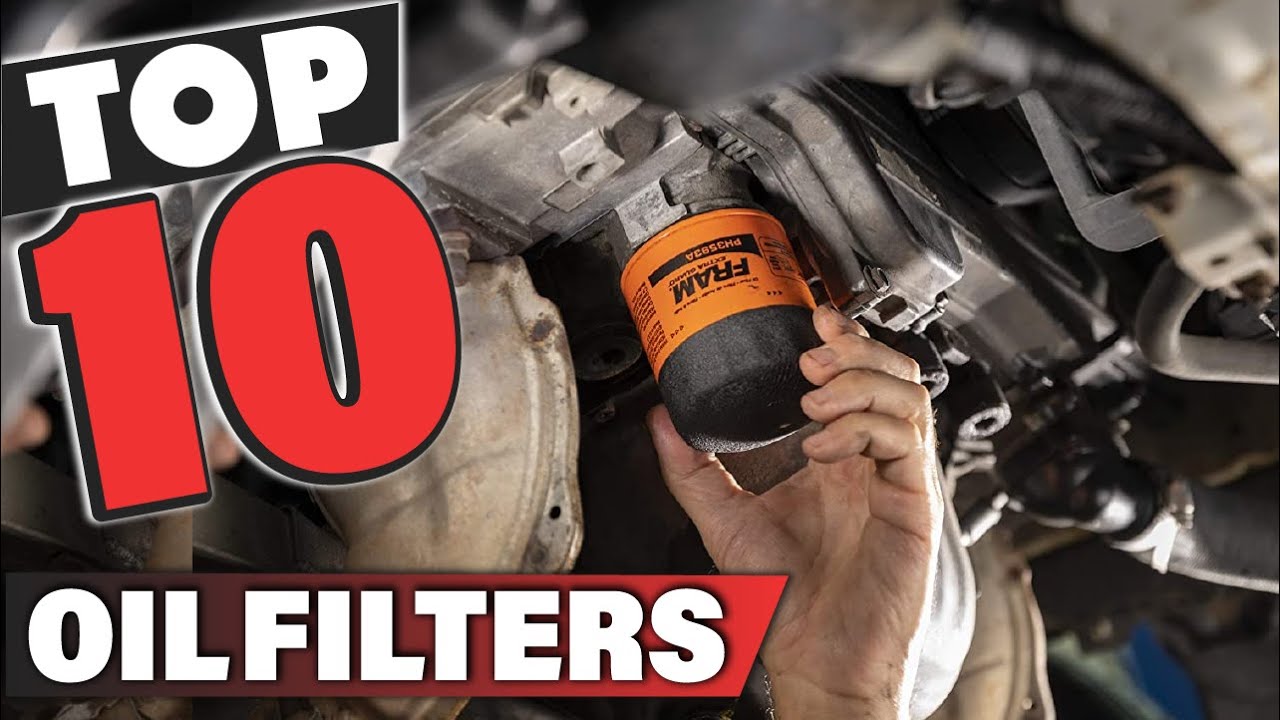
Dealing with a stubbornly stuck oil filter in your engine bay can be a frustrating experience. Thankfully, there are effective methods to safely remove it without causing damage. In this article, we will provide expert tips on how to remove a stuck oil filter, ensuring a smooth and successful process.
Understanding the Oil Filter:
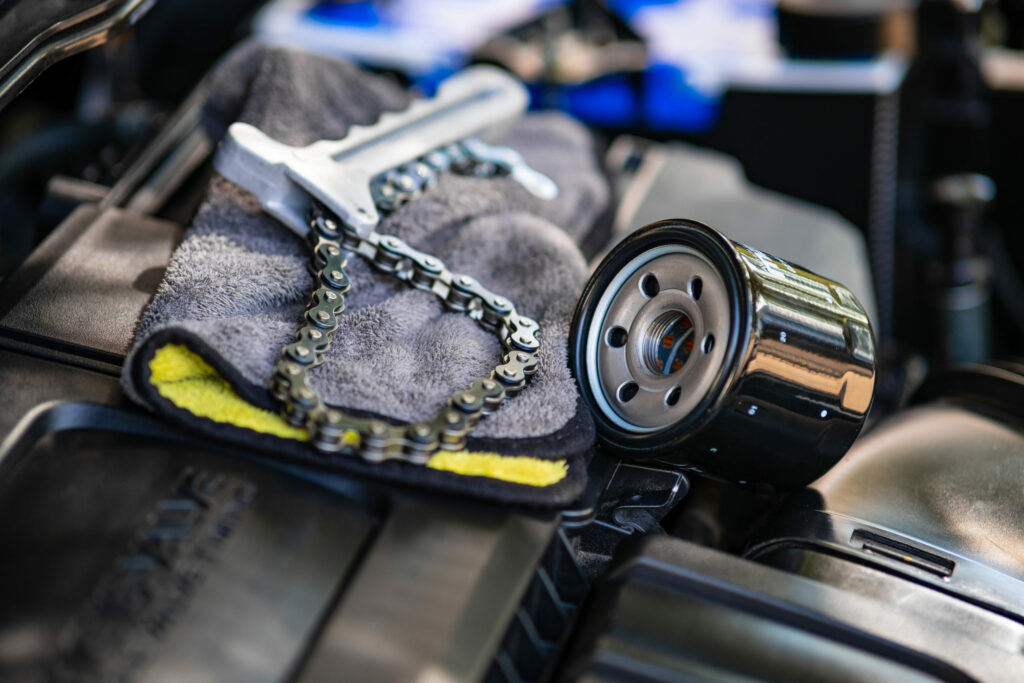
An oil filter is a cylindrical part usually found in all vehicles, located at the bottom front end of the engine. Its purpose is to filter the oil, trapping particles, sludge, and metal fragments, thus preventing them from circulating and causing damage. Over time, the filter loses its filtration properties and must be replaced during oil changes to maintain engine health. It is crucial to use a recommended oil filter to ensure optimal filtration and safety.
Importance of the Oil Filter:
The oil filter plays a vital role in maintaining engine performance and preventing damage. It filters out dirt, metal particles, and debris, ensuring clean oil circulates through the engine. By replacing the oil filter regularly, you eliminate the risk of malfunctions caused by dirty oil. Moreover, a high-quality oil filter can protect the engine from further damage by trapping metal particles resulting from engine failures. Investing in a reliable oil filter is a cost-effective measure compared to the expensive repairs that could arise from using a low-quality filter.
Reasons for Stuck Oil Filters:
Oil filters can become stuck due to various reasons. One common cause is overtightening the filter during installation. It is crucial to follow proper tightening procedures to avoid this issue. Another reason is the lack of lubrication on the rubber seal before mounting the filter, which can lead to the seal sticking to the housing. It is important to lubricate the seal to prevent this problem.
Tools Needed for Removal:
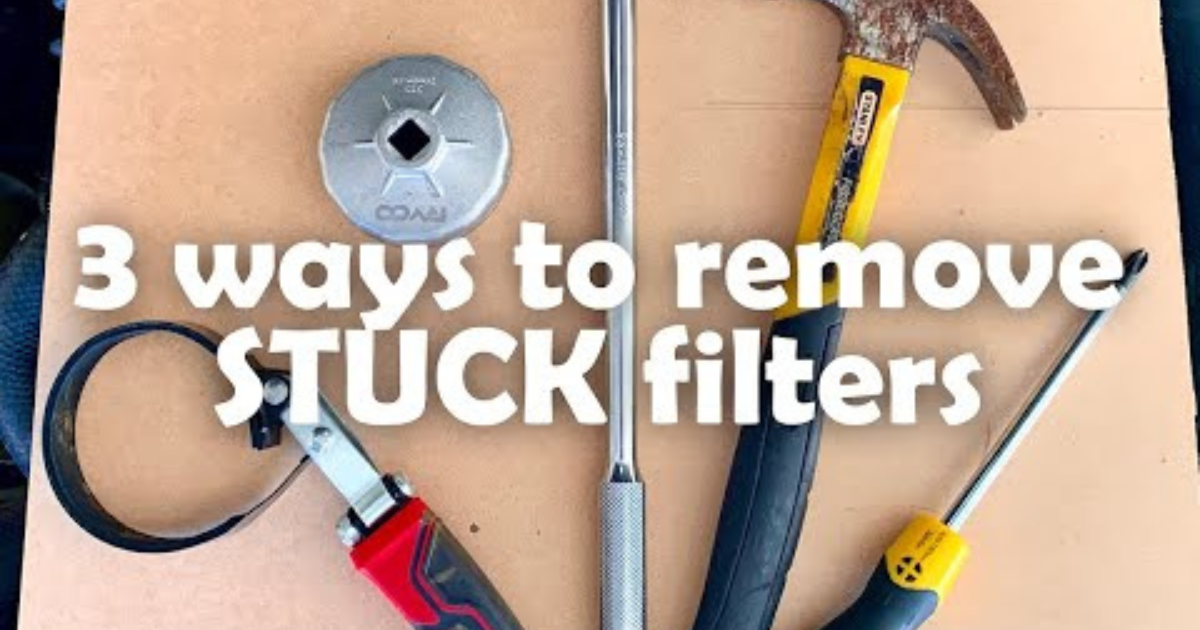
Before attempting to remove a stuck oil filter, gather the necessary tools for a successful procedure. These tools include a cloth, filter cup wrench, filter pliers, car jack, oil filter wrench, three-leg oil filter wrench adapter, and a proper work light. Having these tools on hand will make the removal process easier and safer.
Step-by-Step Guide to Removing a Stuck Oil Filter:
To safely remove a stuck oil filter, follow these step-by-step instructions:
- Lift the front end of the car using a car jack to access the oil filter easily. Secure the car to prevent accidents.
- Locate the oil filter, usually a round black or blue component on the bottom front part of the engine. Ensure you have a clear view of the filter.
- Prior to removing the old oil filter, wipe down the top part where it connects to the engine. This prevents debris and dirt from contaminating the new oil and filter.
- Attempt to remove the stuck oil filter using oil filter pliers. These specialized pliers provide a strong grip for turning the filter counterclockwise.
- If the pliers are unsuccessful, try using alternative methods such as a belt or chain for additional leverage. Avoid using a screwdriver, as it may damage the filter and make removal even more challenging.
- If all else fails, consider using a filter cup wrench, filter wrench, or a three-leg oil filter wrench adapter to provide a secure grip and better leverage for removal.
- Once the stuck oil filter is successfully removed, clean the surrounding area to remove any remaining debris.
- Before installing the new oil filter, lubricate the rubber seal to ensure easy removal during the next oil change.
- Finally, install the new oil filter, following the manufacturer’s instructions. Ensure it is securely tightened but not overtightened.

