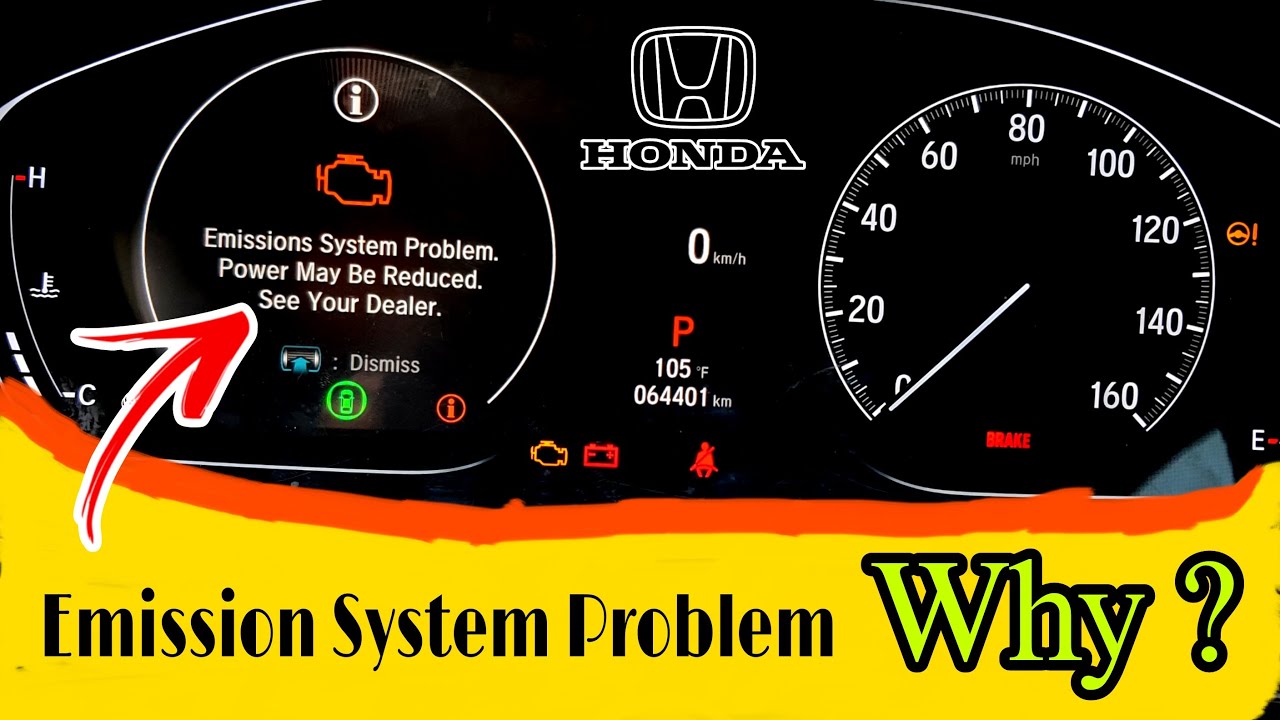
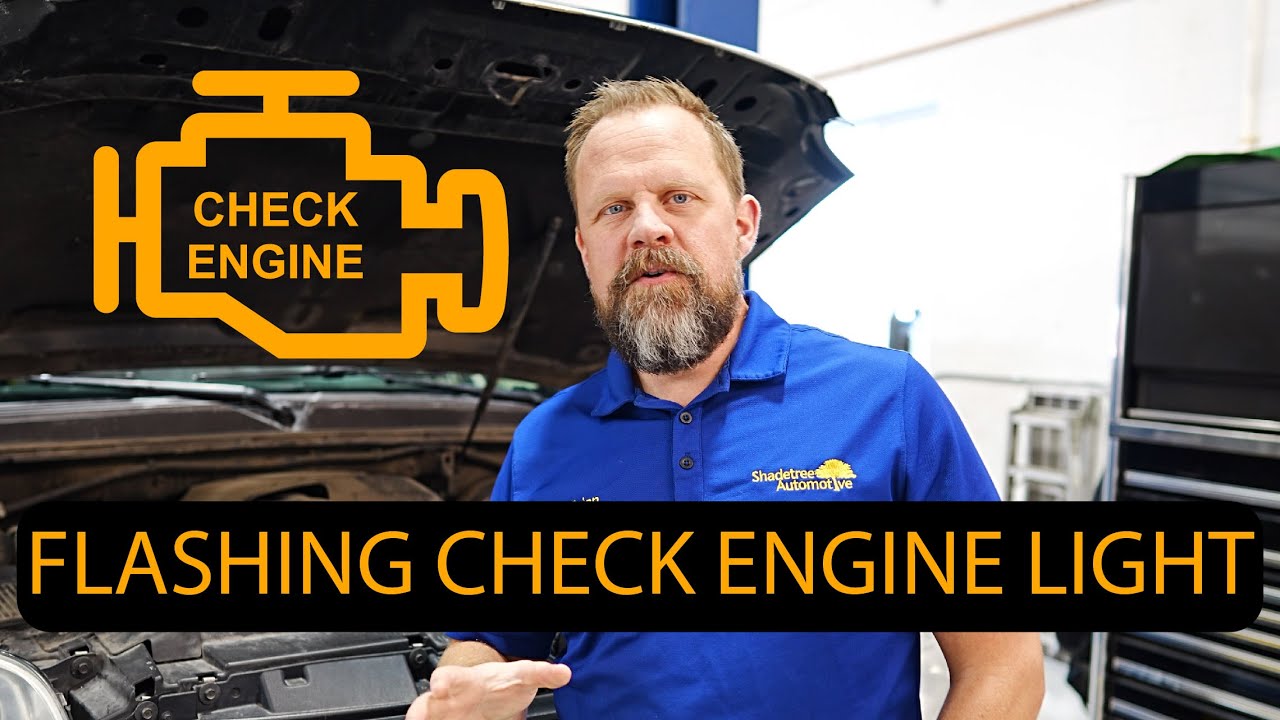
Picture this: You’re all set for a smooth ride in your trusty Honda, but suddenly, the ‘Check Emission System’ light flickers on, casting a shadow of worry. Don’t let this silent alarm unsettle you! Dive into our guide, where we unravel the secrets behind this enigmatic warning, guiding you effortlessly through common culprits to practical fixes. Your journey to emission enlightenment starts here!
What Does A Honda Check Emission System Message Mean?
When a Honda’s check emission system message appears, it means that there is a problem with the vehicle’s emission control system. This system is responsible for reducing the number of harmful pollutants released into the environment through the exhaust system.
The message is triggered by the car’s onboard diagnostic system, which monitors the emissions system and detects any faults or issues. There could be various reasons for this message to appear, ranging from a faulty oxygen sensor, a loose gas cap, or a malfunctioning catalytic converter.
Ignoring the check emission system message can result in increased emissions and potential damage to the engine, ultimately leading to more costly repairs down the line.
What Causes Honda Emission System Problem?
Here are the common causes of a check emission system warning message on your Honda dashboard:
1. Oxygen sensor malfunction
An oxygen sensor malfunction occurs when the oxygen sensor fails to properly monitor the levels of unburned oxygen in the exhaust gases. The oxygen sensor is a critical component of a vehicle’s emission control system and helps the engine control module (ECM) optimize the air-fuel mixture for efficient combustion.
When the oxygen levels are too high or too low, the engine will attempt to make appropriate modifications. If there’s still an imbalance, the Check Emission System and Check Engine lights can come on. A malfunctioning oxygen sensor can lead to poor fuel economy, increased emissions, and reduced engine performance.
2. Faulty catalytic converter
The catalytic converter is an essential component designed to reduce harmful emissions by converting pollutants in the exhaust gases into less harmful substances before they are released into the atmosphere. It is located within the exhaust system, between the engine and the muffler.
Over time, the precious metals inside the converter break down. These materials are needed to create the chemical reaction that converts the gases. A clogged catalytic converter can result in poor engine performance, reduced fuel efficiency, and increased emissions.
3. Loose Gas Cap
If you’ve recently visited a gas station, you may have forgotten to tighten the gas valve. At the fueling station, it is easy to become distracted by everything going on around you. This is one of the more manageable issues that can trigger the Check Emission System warning.
It can also lead to a Check Engine Light, which is always troublesome. Aside from being loose, the gas cap has the gas cap may have become damaged or broken. Furthermore, you might have misplaced the gas cap, leaving the fuel filler neck open.
4. Faulty evaporative emission control system
The EVAP system prevents fuel vapors from escaping into the atmosphere by capturing and storing them in a charcoal canister. A malfunctioning EVAP system, such as a leaking purge valve or damaged canister, can cause the check engine light to illuminate and increase emissions.
5. Leaking or damaged exhaust system
If there’s an exhaust leak anywhere in the exhaust system, the warning lights can come on the dash. It’s challenging to determine where the exhaust leak is and what’s causing it because of how many components you are dealing with.
Your problem could be something as small as a loose clamp or bolt. On the other hand, the manifold or an exhaust pipe could also be cracked. You’ll also want to inspect the intake system to ensure no cracked hoses are causing a vacuum leak.
6. Malfunctioning fuel injectors
Fuel injectors deliver precise amounts of fuel to the engine for combustion. Clogged or leaking fuel injectors can cause the engine to run too rich or lean, leading to increased emissions and reduced engine performance. If fuel injectors malfunction, the warning lights can come on the dash.
7. Dirty Air Filter
The air filter in the engine removes impurities from the flow entering the motor. If the air filter becomes contaminated, the flow might decrease.
Since the engine needs a particular amount of air and fuel to create the proper amount of power, any imbalance in this ratio can cause the warning lights to come on. You might also notice some performance issues because the engine is starving of air.
8. Damaged spark plugs
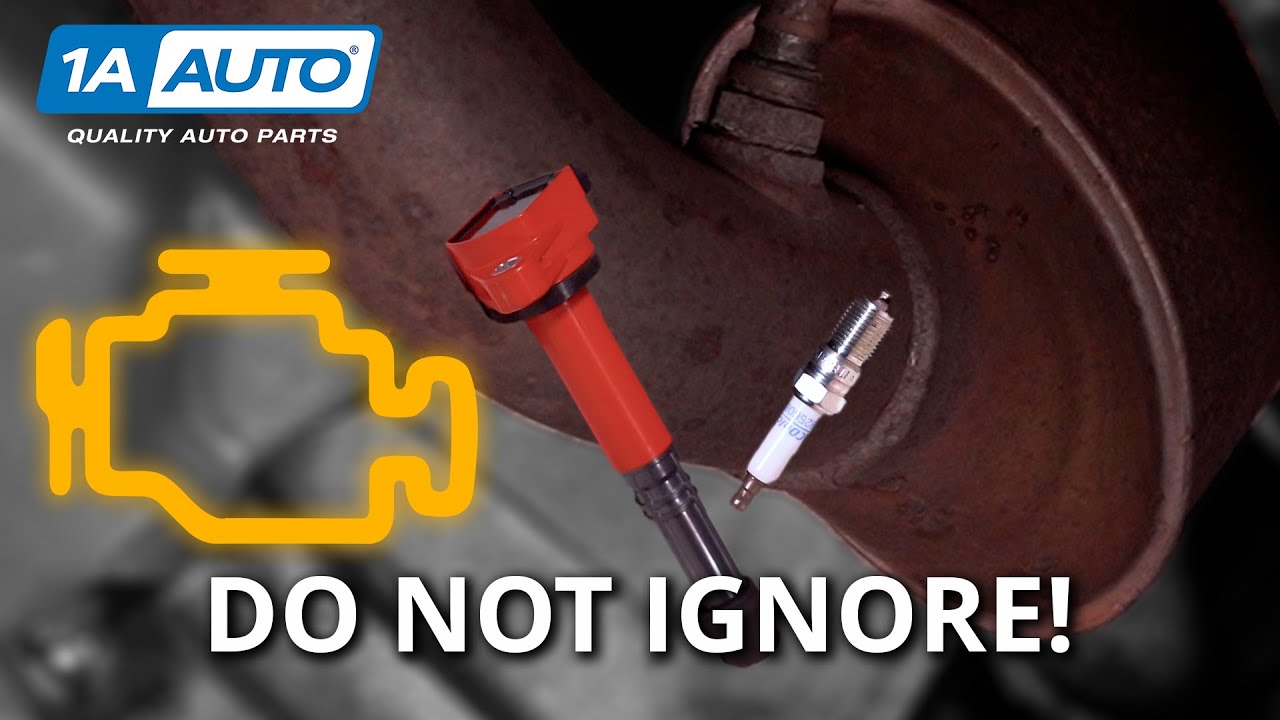
Spark plugs ignite the air-fuel mixture in the combustion chamber, creating the power to drive the engine. Over time, spark plugs can wear down, become fouled, or even crack, leading to suboptimal combustion and misfires.
When spark plugs are not functioning correctly, the engine may struggle to maintain a smooth idle, suffer from poor acceleration, and produce increased emissions.
How To Fix Honda Emissions System Problem
Fixing a Honda emissions system problem involves identifying and addressing the issue accordingly. Here is a step-by-step guide to diagnosing and resolving emissions system issues in a Honda vehicle:
Step 1: Check the Air Filter on the Air Cleaner System:
A cold air intake can make your car slightly louder due to the increased airflow, but it’s generally not a significant increase in noise. The air cleaner system pulls air from outside the car, filters it, and sends it to the engine.
A clogged or dirty air filter can cause various problems, including emissions system issues. Regularly inspect the air filter and replace it as per the manufacturer’s recommendations to prevent such problems.
Step 2: Inspect the Positive Crankcase Ventilation (PCV):
The PCV system routes unburned gases from the engine back into the combustion chamber, preventing them from escaping through the dipstick tube. To check if it’s functioning properly, remove the oil fill cap and start the engine. If you see smoke coming from under the hood, it’s likely that your PCV system is not working correctly and needs to be addressed.
Step 3: Inspect the Evaporative Emissions Control System (EVAP):
The EVAP system recirculates fuel tank fumes through a carbon canister, preventing them from being vented into the atmosphere. If your vehicle has this system and it’s not functioning properly, you’ll likely see a Check Engine Light. Inspect the system for damaged components, leaks, or blockages, and repair or replace them as necessary.
Step 4: Check the Exhaust Gas Recirculation (EGR) System:
The EGR system recirculates exhaust gases back into the engine to reduce pollution. If there’s an issue with the EGR system, it can cause increased emissions. To check the EGR system, start the engine and let it idle for a few minutes.
Turn on the A/C and place your hand over the end of the tailpipe. If you feel strong suction coming from the tailpipe, a problem with the EGR system must be fixed.
Step 5: Inspect the Air Injection System:
The air injection system injects a small amount of air into the exhaust stream to help complete the combustion process and reduce emissions. The OBD-II system may throw a P0420 code if it’s not functioning properly. Follow these steps to inspect the air injection system:
- Locate the air injection pump, usually found near the engine or within the engine compartment.
- Check for leaks in the hoses or fittings connected to the air injection pump.
- Ensure that the pump is receiving power by inspecting the electrical connections and fuses.
- Inspect the check valve and solenoid valves for proper operation and any signs of damage or wear.
- Check for blockages in the air injection passages by visually inspecting the hoses and components.
Step 6: Test drive the vehicle:
After addressing the identified issue(s), take the vehicle for a test drive to ensure that the emissions system problem has been resolved and the engine runs smoothly.
FAQs
What does the “Check Emission System” warning light mean on my Honda dashboard?
The “Check Emission System” warning light indicates that there is a problem with your vehicle’s emission control system. This could be due to a malfunctioning component or a system issue affecting the vehicle’s emissions, fuel efficiency, or engine performance.
Can I continue driving my Honda if the Check Emission System light is on?
While it might be safe to drive the vehicle for a short distance, it is not recommended to ignore the warning light. A problem in the emission system can lead to poor engine performance, reduced fuel efficiency, and increased emissions. It’s best to address the issue as soon as possible to prevent further damage.
How do I know which component is causing the Check Emission System light to come on?
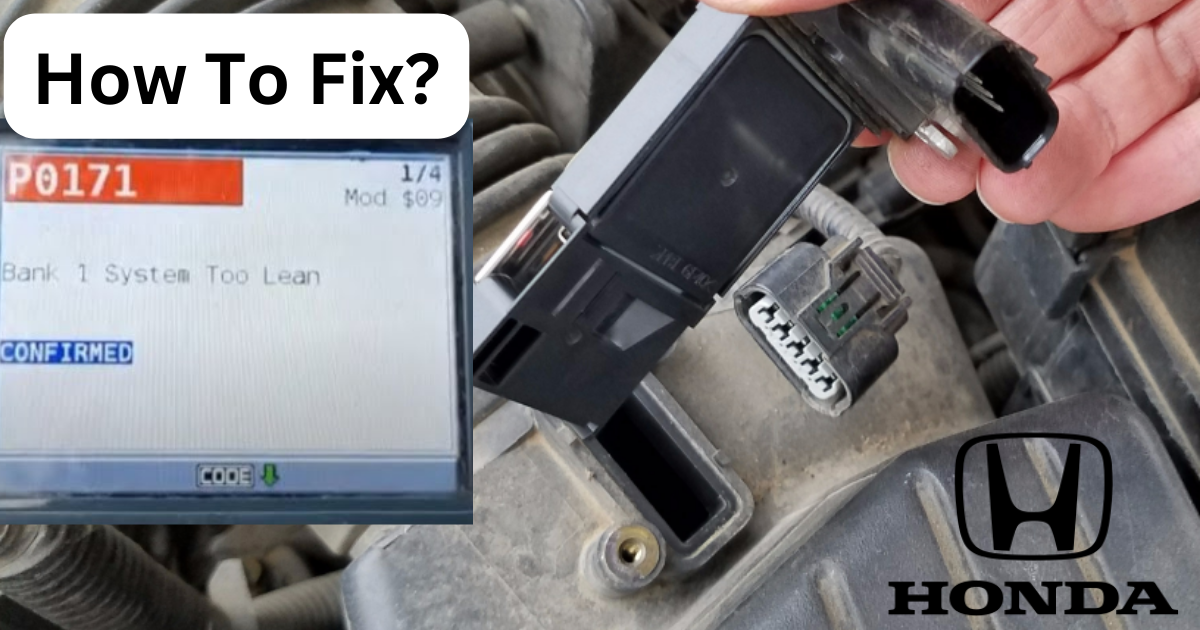
To identify the specific issue causing the Check Emission System light, you must use an OBD-II scanner to read the diagnostic trouble codes (DTCs) stored in the engine control module (ECM). The DTCs can help pinpoint the problem and guide you on the necessary repairs or replacements.
Will the Check Emission System light reset itself after fixing the problem?
Once you have addressed the issue that triggered the Check Emission System light, you can use an OBD-II scanner to clear the stored DTCs, which will turn off the warning light. Sometimes, the light may turn off automatically after several successful driving cycles without the issue reoccurring.
Can a loose gas cap cause the Check Emission System light to come on?
A loose or damaged gas cap can cause the Check Emission System light to illuminate. This is because a poor seal on the gas cap can allow fuel vapors to escape, affecting the efficiency of the evaporative emission control (EVAP) system. Ensure the gas cap is tightly secured and in good condition to prevent this issue.
Conclusion
In conclusion, addressing Honda’s emission system problems is crucial to maintain optimal vehicle performance and fuel efficiency and complying with environmental regulations. Common issues include oxygen sensor malfunction, faulty catalytic converters, damaged exhaust systems, and worn spark plugs.
To diagnose and resolve these problems, use an OBD-II scanner to read the diagnostic trouble codes and perform the necessary repairs or replacements. Regular vehicle maintenance and inspections can help prevent emissions system issues and ensure a smooth and efficient driving experience.
