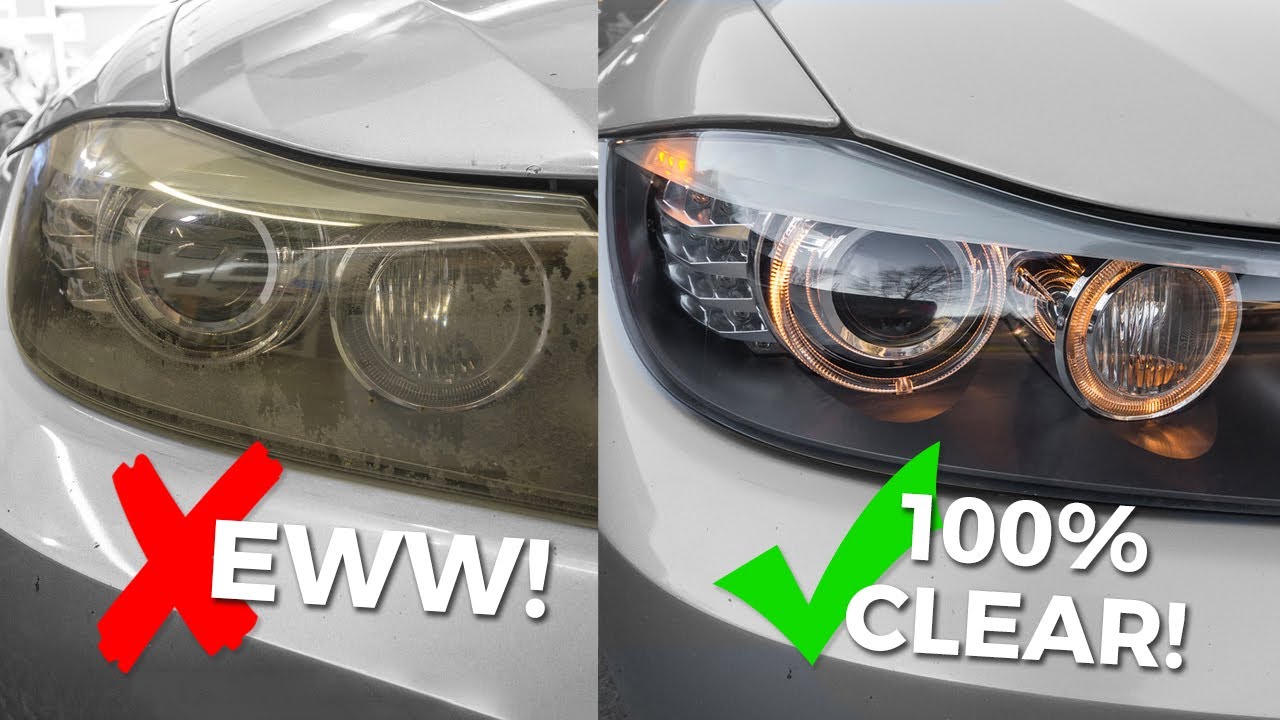
Are you tired of squinting through hazy, yellowed headlights that diminish your car’s sleek look and your night driving confidence? The solution might be closer than you think! Dive into our handy guide to discover four budget-friendly, easy-to-follow methods for bringing back the clear, bright shine to your car’s headlights. From toothpaste tricks to lemony freshness, learn how to turn those dull headlights dazzling again!
Toothpaste and baking soda work well as cleaners and may be used on headlights. The headlights may be safely cleaned with either solution since they are sufficiently abrasive to remove the fog. It’s possible that polishing chemicals like Rain-X might also be sufficient to repair UV damage.
Why Do Headlights Get Yellow or Foggy?
There are a number of causes for the gradual yellowing or fogging of car headlights. One distinguishing feature is that its exterior is fabricated from a plastic substance (like polycarbonate).
The debris from driving through dust, gravel, stones, and dirt will scrape up your headlights and develop tiny chips and cracks if this substance is not coated properly. These newly created passages invite dirt and filth to enter, where it accumulates and dulls the light produced by your headlights.

UV rays from the sun, acid rain, and the petrochemicals in asphalt all work together to eat away at the sealant in your headlights. There could be any number of reasons why your headlights have taken on a dull yellow-rusted hue.
Why Is Cleaning Headlights Important?
Check your headlight brightness regularly. How bright it is; if it is yellowed or cloudy. Front headlight cloudiness or yellowing might reduce output or reroute it.
If that’s the case, you and other drivers on the road are in danger from a lack of visibility. You should always keep your headlight lenses in good condition, no matter the time of year or the weather.
A little preventative maintenance goes a long way; with all the amazing do-it-yourself options for cleaning oxidized headlights and defogging headlights, you might not even need to hire automotive pros!
Headlight Cleaning Kit
A ready-made kit will get you the closest to a fully refurbished headlight. This kit will have sandpaper, polish, and everything else you need to clean your headlight covers for much longer than you could by hand.
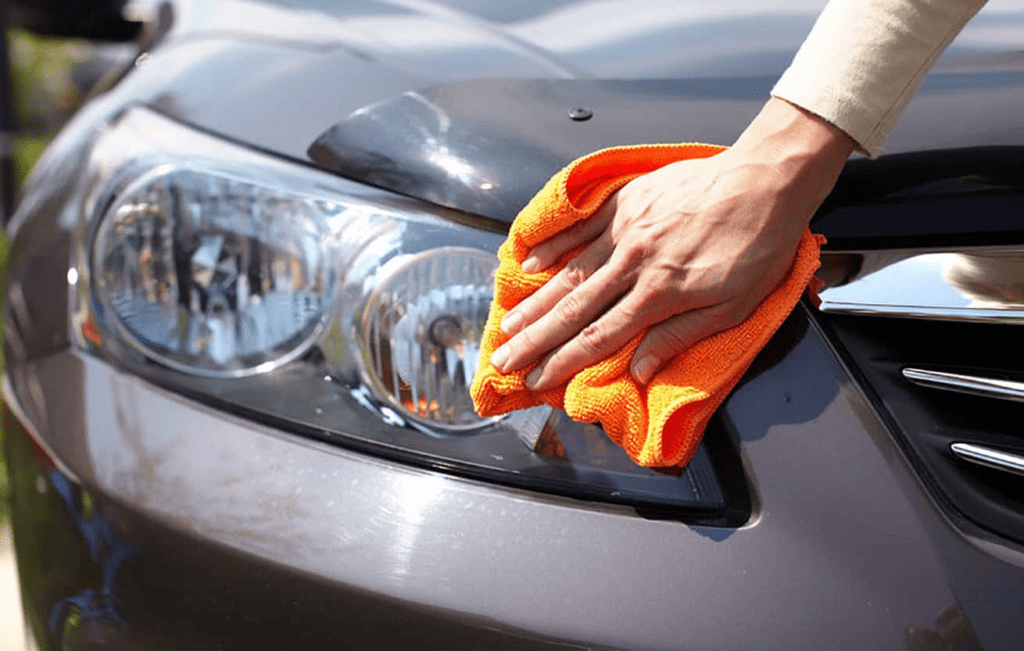
The one major problem is that repeatedly polishing plastic will further hasten the degradation and make your headlight brittle. As precipitation enters the housing via cracks in brittle headlights, condensation forms inside the device. When that happens, you’ll need to spend a few hundred dollars replacing both headlights.
Here’s how to restore your yellow headlights:
1. Clean the headlights
A quick dusting or wipe-off would suffice; perfection is not required. The biggest concern is that the sanding process would cause larger particles to grind into the headlight.
2. Tape off any nearby painted areas
This is a critical stage. At a single careless moment with the sandpaper, you could ruin your paint and have to deal with an entirely new problem.
3. Dry sand with 800 grit
Go from west to east with your 800-grit sandpaper and be as even as you can. When it comes time to refine it, the marks will be easier to remove if the sanding pattern is constant. Don’t stop sanding until the yellow layer disappears.
4. Wet sand with 1000 grit
Water will be used for the first time in this procedure. If you want to remove the sanding markings from the previous stage, you should sand from north to south with your 1000-grit paper.
5. Wet sand with 2500 grit
Further wet sanding is in order, this time with 2500 grit paper. To continue in the opposite direction from the previous one (west to east in this case) is a common tactic used in these instructions.
Now, the beams from the headlights should be becoming much more distinct. Yet, they are only going to improve from here on.
6. Compound with a polisher
We want to take it a step further now that your headlights are improving in appearance. You should take out your buffer and compound and get to work. At this stage, you should perceive a significant improvement in clarity over the sanding processes, which may be satisfactory to some. We’ll need to take an additional refinement step with the rest.
7. Finishing polish (optional)
An occasional haze is left behind after mechanical compounding. However, it is readily rectified with a short polish. This is the next logical step in the process of making your headlights as clear as possible. They may even end up looking better than when they were first purchased!
8. Protect them
The last step in fixing your headlights is the most critical. Simply put, without enough UV radiation protection, all your hard work will be wasted in weeks. The plastic’s protective coating has worn off and vanished, leaving your lights open to the elements.
There are a few ways you can keep them safe. You can use a regular paint sealant, but you should do it every six months or so. You can also use a bottle of the ceramic coating you used to paint with. The best long-term defense is a UV coating or clear coat paint that you spray on. This is available on pre-moistened wipes from some manufacturers.
Home Remedies (Temporary Fixes)
When it comes to keeping your car’s headlights clean, many people also rely on their own tried-and-true techniques. The following are some of the do-it-yourself methods we’ve found to be effective.
1. Lemon
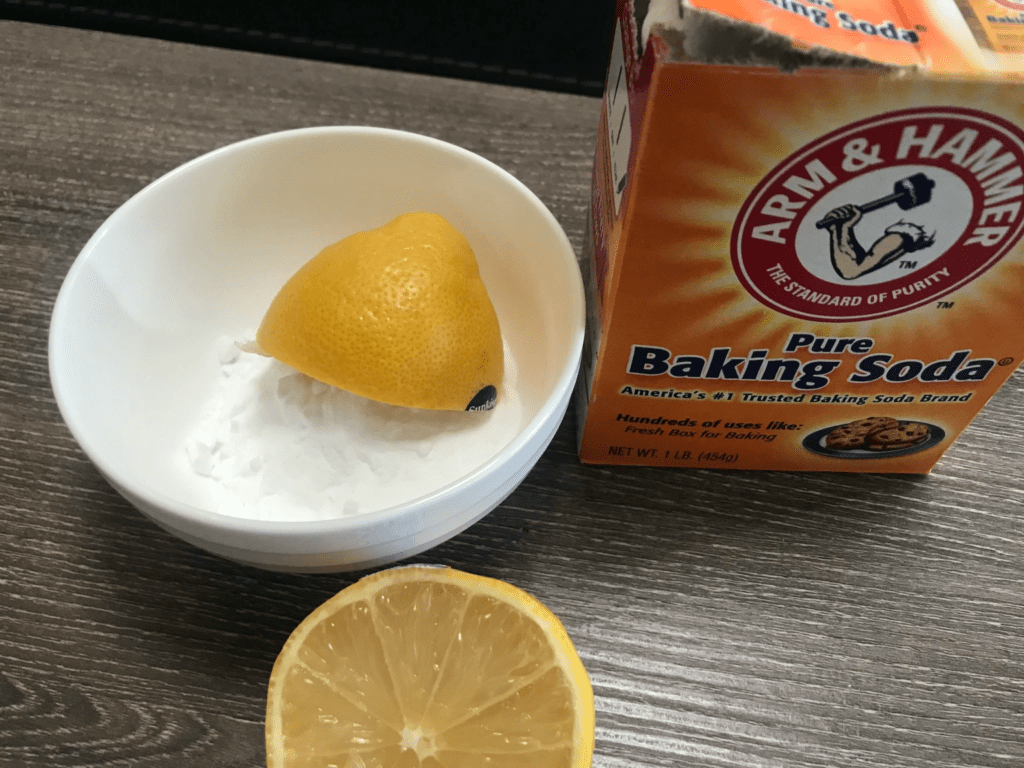
It’s commonly believed that you may get a headlight free of yellowed oxidation by pouring baking soda onto a cut lemon and rubbing it all over the light. The acidity of the lemon juice might eat away at the paint if you left it on the automobile too long.
2. Toothpaste
Cleaning headlights with toothpaste is one of the most efficient (and cheapest) methods available. Indeed, a typical tube of toothpaste like Crest, Colgate, or your preferred brand will do the trick. Toothpaste is mild enough that it won’t scratch the plastic yet is abrasive enough to remove the yellow. You should plan on doing this at least once a year, if not more often.
3. Vinegar with Baking Soda
You can use the old standby of white vinegar and baking soda to clean your headlights. Cleaning the headlight requires wetting it with water or vinegar, using baking soda, and scrubbing it with a sponge. To get rid of the smell, use vinegar and then rinse with water.
FAQs
Can toothpaste clean yellow headlights?
Headlights can be temporarily restored by employing an abrasive like toothpaste and plenty of washing if the fogging is minimal. Start by using Windex or soap and water to clean the headlights. The next step is to dab a pea-sized amount of toothpaste onto the damp headlight using a delicate cloth. (Baking soda-based toothpaste is the most effective.)
Can Coca-Cola clean headlights?
The phosphoric acid in Coca-Cola can help remove oxidation from your headlights and give them a good clean. Instead of pouring it on, which could leave a stain or damage the paint job, you should decant it into a spray bottle and use that to apply it to the headlights.
Why do headlights turn yellow?
These days, most headlights are built out of plastic coated with a UV shield. When subjected to direct sunshine for extended periods, the coating deteriorates, causing the light to become yellowed or cloudy. Even after only three years, headlights might start to show signs of deterioration; typically, this happens after five years.

