Disengaging the clutch causes a misalignment in rotational speed between the crankshaft and the gearbox’s input shaft. This variation is made possible by the pilot bearing. When pressing the clutch pedal, if you hear a whistle or any other unusual noise, it’s time to adjust the pilot bearing.
Learn more about pilot bearings, how to remove them, and what tools to use for the job in this comprehensive article. You will also find out how to diagnose and fix pilot bearing and bushing problems.

Symptoms of a Bad Pilot Bearing
The symptoms may differ depending on the situation, automobile make, and model, much like any other part of a car. The symptoms, though, are usually the same.
- Noise
- Unusual Clutch Pedal Feeling
- It Is Harder to Change Gear
- Vibration
A step-by-step guide on how to take off a pilot bearing
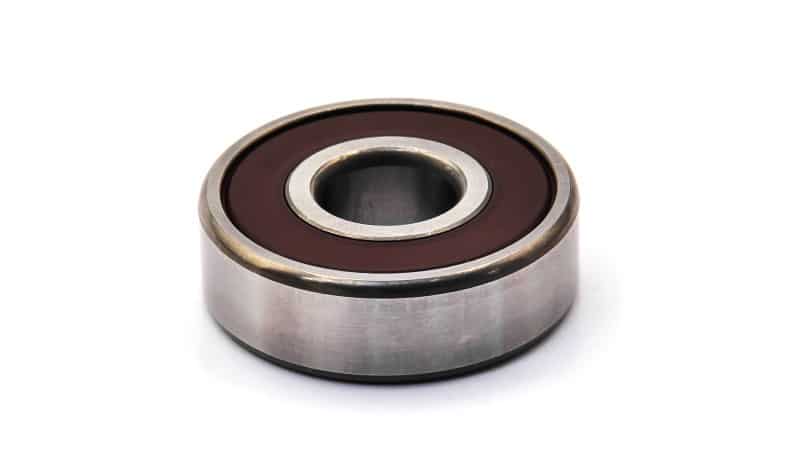
We will now go over the steps necessary to remove the pilot bushing or bearing, as well as how to use a puller to remove the bearings. At the very end of the crankshaft is where you’ll find the pilot bearings for your engine. The input shaft can stop spinning thanks to the bearing, allowing for steady, smooth changes.
After you find the problem, we can take out the pilot bearing and put it back in. So, before you do anything else, take the clutch kit and the entire transmission out of the vehicle.
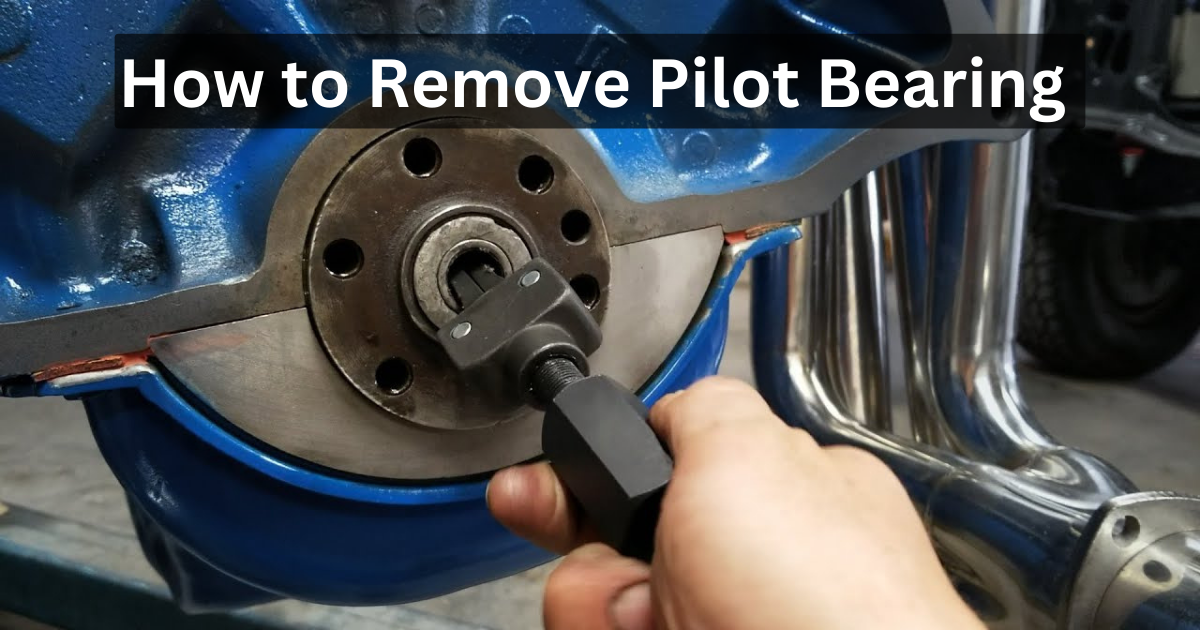
To start off in a professional manner, you’ll need a puller with a pilot bearing. We recommend this instrument: Off-the-shelf (7318) Pilot Bearing Remover. Using this tool, removing the bearing is a breeze and requires minimal mess.
After completely reversing the jam, insert the tool used to remove the pilot bearing into the bearing. To spread the tool’s hands outward, turn the handle clockwise. By positioning the tool’s body so that it presses on the flywheel, the pulling process can be supported.
As you draw the pilot bearing outward, use a wrench to tighten the jam nut. A “POP” sound indicates that the pilot bearing is beginning to come loose. Squeezing the nut is now much simpler. Keep going until the bearing is completely removed.
Check the bearing and the crankshaft end when you remove it. Before installing the new bearing, wipe the crankshaft end with a clean cloth. It will be easier to install the replacement bearing if it is as clean as possible.
Compare the old bearing with the new one after you get it. Their internal and external dimensions and diameters must be the same.
After 30 minutes in the freezer, the new bearing will shrink and be easier to install. The installation will be a breeze with this. Put it carefully on the crankshaft’s end. The bearing can be snugged into place by tapping it with a hammer. Be cautious not to ruin the brand-new pilot bearing in the process.
Conclusion
You will be able to detect when the pilot bearings are defective if you are familiar with the signs and their function. A professional mechanic should be consulted for inspection, diagnosis, and repair if you encounter any of these signs. Because it requires taking the clutch kit and transmission out of the vehicle, this is not a task for the faint of heart. Expertise and specialized equipment are required for this operation.


