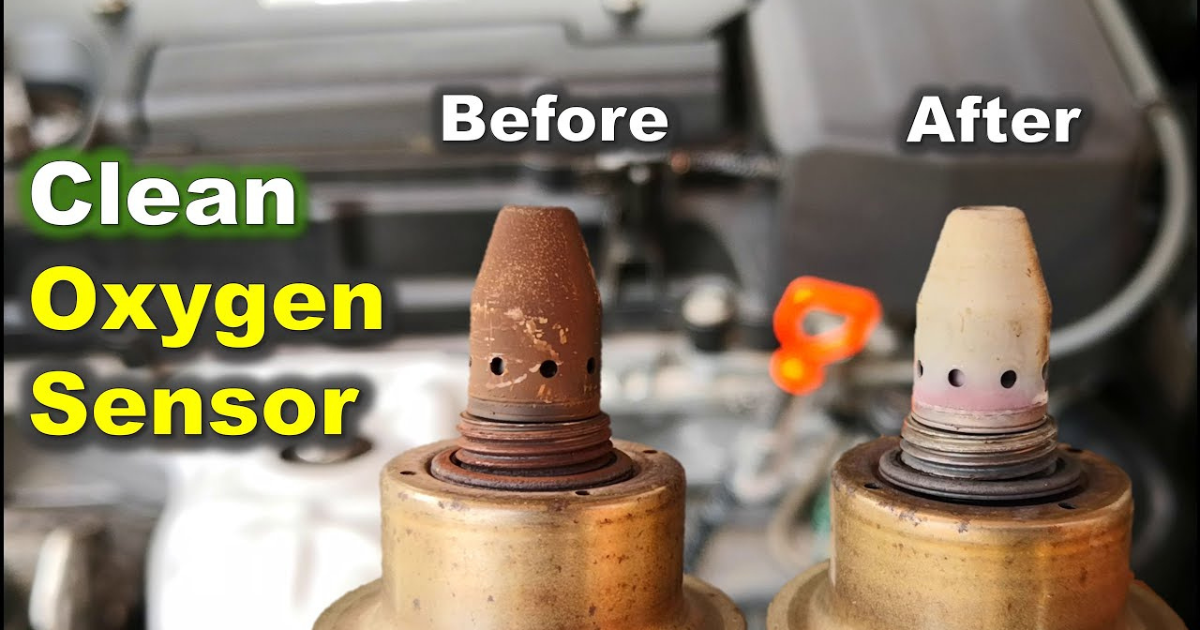
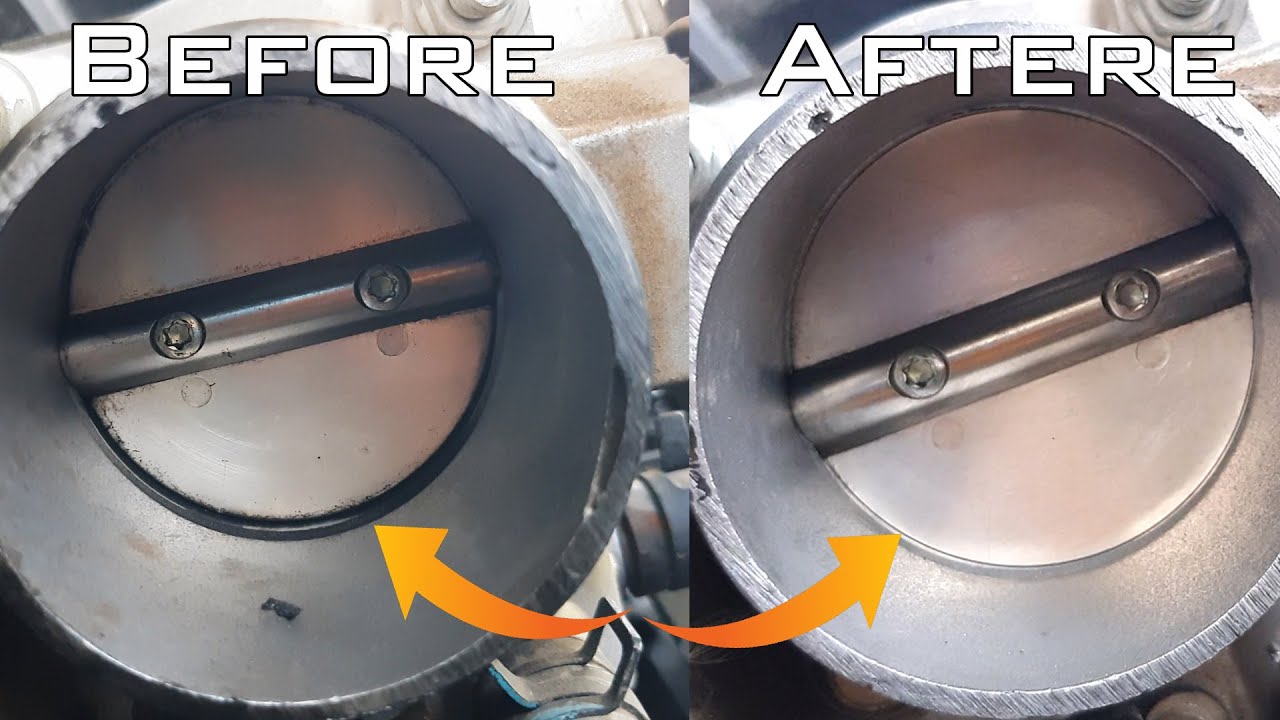
One indicator that your oxygen sensor needs cleaning is if your car jerks or otherwise acts poorly in terms of engine performance. Taking the oxygen sensors apart before cleaning them is the best approach. Finding and removing each O2 sensor before cleaning them might be a very laborious process.
How do you clean the oxygen sensor without removing it?
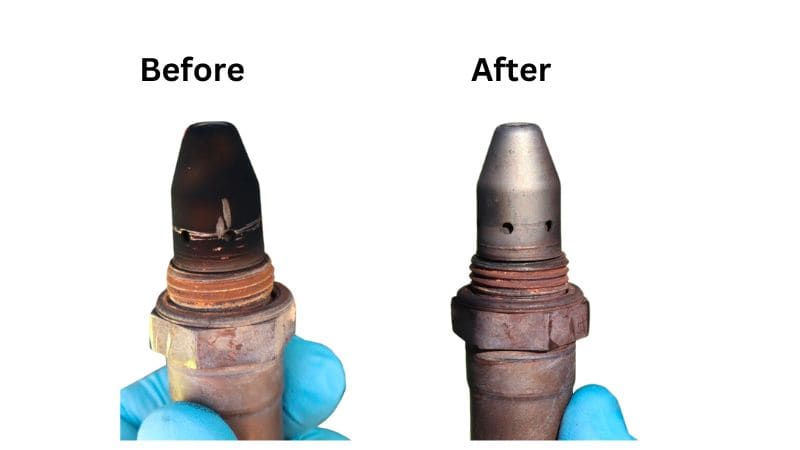
When the engine is running, the oxygen sensor is crucial. The check engine light may flicker or come on, the engine may make pinging or knocking noises, gas economy will be low, exhaust will be black, the engine could overheat, or the catalytic converter could fail if the oxygen sensor is dirty.
You need to clean your filthy oxygen sensor if you wish to avoid all of these. Fortunately, you need not have a background in automotive repair. Come with me as I simplify everything and lead you through it step by step.
Step 1: Take off the plastic engine cover
The plastic engine cover must be removed in order to access the oxygen sensor on Fords and other vehicles. Find and remove the clips, nuts, or screws that are keeping the plastic cover in place.
But remember, not every vehicle has this kind of cover. If your vehicle isn’t covered, that’s okay. But if yours already have it, take care of it first.
Step 2: Locate the oxygen sensor
The oxygen sensors might be found in different places on different cars. The exhaust pipes, namely the ones that go before and after the catalytic converter, are where you’ll find them. There will be two oxygen sensors in a vehicle with a single exhaust system and four in a vehicle with two exhaust systems.
In order to check for physical or electrical damage, it is necessary to locate the O2 sensor. Make that everything is in working order with the wire harness and connectors. Looking for physical damage to the sensors’ bodies should be the next step.
Another justification is to document the pre- and post-cleaning stages of the O2 sensor. Take a picture with your phone’s camera after removing the oxygen sensor; then, after cleaning, take another picture without the oxygen and compare the results to see if the procedure actually works.
If you aren’t concerned with the before and after results of cleaning the oxygen sensor, you can skip this step.
Step 3: Find and disconnect the vacuum hose
Finding and disconnecting the engine vacuum hose is the next step in cleaning the oxygen sensor without removing it on Chevys and other makes and models. Several vacuum hoses can be found in the engine compartment. However, you’ll need to access the vacuum hose located at the rear of the engine in order to clean the O2 sensor.
Take the vacuum hose off, put the cleaning straw in, and then put it back on. Collaborate with a catalytic converter and oxygen sensor cleaning that prioritizes the needs of their customers. What I mean is a single cleaner that can do double duty, rather than two separate ones. You may clean the oxygen sensor and the cat con at the same time with this.
Step 4: Start the vehicle
To clean the sensor without removing it, you can use any oxygen sensor cleaner spray. Just make sure the engine reaches its regular operating temperature first. So, turn the key to the ignition and let the engine run for a bit.
Hire a helper to crank the engine up to 2000 RPM and keep it there. As your helper keeps the engine revved up to 2000 RPM, attach the cleaner to the straw and spray it. Depending on the dirtiness of the O2 sensor, spray half the can or less.
Step 5: Finish up
Disconnect the suction hose after you finish step 4 above. Disconnect the hose and remove the straw. This time, make sure the clamp is clipped correctly to prevent vacuum leakage.
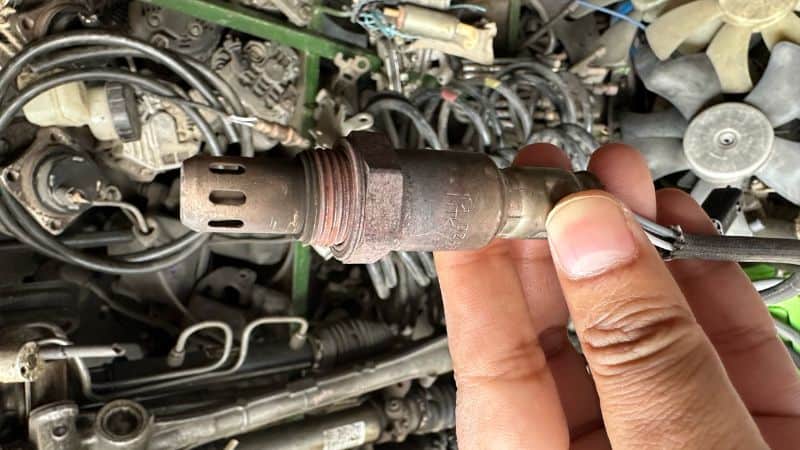
If you took the oxygen sensor out in step 2, you should take it out again to see how things were before and after. If you didn’t, though, you can skip removing it for now. Put everything back together and give your car a test drive while keeping the engine revved up to 2000 RPM. In order to eliminate any loose debris that may have accumulated after cleaning, testing is necessary.

