If you’re experiencing issues with your vehicle’s valve seals, you may be dreading the idea of removing the cylinder head to replace them. Fortunately, with the right tools, you can replace valve seals without removing the head cylinder. In this article, we’ll show you how to do it.
Step One: Inspect and Identify the Faulty Valve Seal(s)
The first step is to identify the valve seal or seals that need to be replaced. The main symptom of a faulty valve seal is cloudy blue smoke coming from your exhaust when you start the vehicle after it has been parked for a while. This smoke is caused by oil leaking down the valve guide into your combustion chamber, which burns off when you start the car.
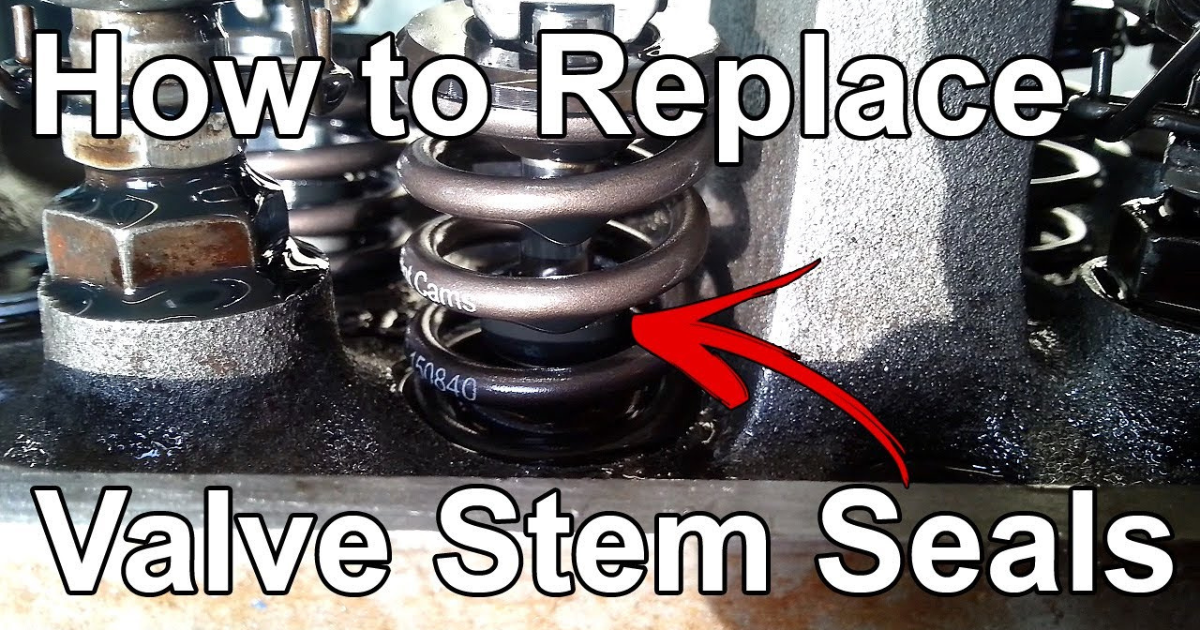
To inspect your valve seals, raise your car’s bonnet and remove the rocker cover to expose the valvetrain. Look towards the exhaust ports on your engine and inspect any of the ports for oily fluid. If you find an oily port, check the valve stem seals on the exhaust valve of the affected port. If the valve seal is completely removed from the top of the valve guide and is just riding up and down on the valve stem, it needs to be replaced.
Step Two: Gather Your Tools
To replace valve seals without removing the head cylinder, you’ll need a valve spring compressor tool and an air hose with end fittings. The valve spring compressor tool is designed for use with overhead cam engines and will allow you to compress the valve spring to remove it. The air hose will be used to pressurize the cylinder to hold the valves in position.
Step Three: Prepare Your Vehicle
Make sure your affected cylinder is on its compression stroke. You can do this by rotating your engine by hand until both cam lobes are pointing upward. Remove the follower of the valve you are working on and the spring retainer. Make sure you remember how the components were initially fixed so you can couple them back the same way.
Step Four: Pressurize the Cylinder
Remove the spark plug with your socket wrench and screw one end of the air hose. Hook the other end to a compressor. Pressurize the cylinder to around 80psi and keep topping it up because you will gradually lose pressure past the piston rings over time. Put your car in gear and put your hand brake on to prevent the piston from moving.
Step Five: Compress the Valve Spring
Turn on your air compressor to begin applying pressure. Use a good quality valve spring compressor tool to compress the valve spring so that you can remove the cotters. Once the cotters are removed, you can easily get the spring and of the way.
Step Six: Remove and Replace the Valve Seal
With the valve spring out of the way, you can get clear access to your valve seals. To remove it, lift it to the top of your valve stem. If you have a valve stem seal removal tool, it will help a lot. With the old seal out of the way, you can now fix your new valve seals. This is the reverse of how you removed it.
Step Seven: Reassemble Everything
Push the new seal down from the top of the valve stem to the top of the valve guide. You can use a socket to help do this properly. Once you have gotten your valve spring well seated, stop the airflow from the compressor. Reassemble everything using the reverse process.
Conclusion
Replacing valve seals without removing the head cylinder can save you time and money. By following these steps, you can replace your valve seals with ease. Remember to always use the right tools and take your time to ensure the job is done correctly.

