Say goodbye to the eyesore of a drooping headliner in your car! With practical and straightforward solutions, transforming that saggy roof lining is easier than you think. Dive into our guide to discover how a little effort can rejuvenate your vehicle’s interior, restoring both style and functionality.
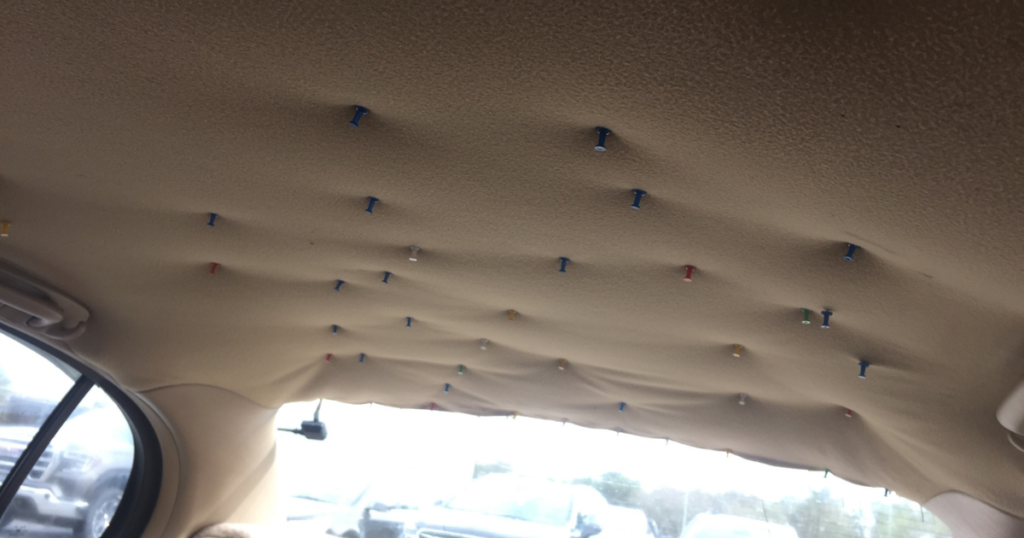
For keeping your headliner in place and preventing it from drooping anymore, headliner pins are used to secure it to your roof. To make this function effective, distribute these pins equally throughout the sagging region. The main drawback to this form of repair is that the clearly noticeable headliner pins may distract from the overall appearance of your car.
What is a Headliner?
A headliner refers to the interior roof covering of a vehicle, typically made of fabric or other materials. It stretches across the ceiling, spanning from one end of the car to the other. Its primary purpose is to provide a clean and visually appealing finish to the roof interior, concealing structural elements such as wiring, insulation, and the vehicle’s metal frame.
Causes of Sagging Headliners
1. Age and Wear
One of the most common causes of a sagging headliner is simply the age of the vehicle. Over time, the adhesive that holds the headliner fabric in place weakens, causing it to detach from the ceiling. Additionally, constant exposure to sunlight, temperature changes, and humidity can contribute to the degradation of the adhesive, making the headliner more prone to sagging.
2. Moisture and Water Damage
Moisture or water damage can lead to the separation of the headliner fabric from the underlying structure. Leaks from sunroofs, windows, weatherstripping, spills, or excessive condensation inside the vehicle, can introduce moisture to the headliner. The water weakens the adhesive, causing it to lose its grip and sagging.
3. Extreme Temperatures
Extreme temperatures, particularly heat, can exacerbate headliner sagging. Prolonged exposure to high temperatures, such as those experienced in hot climates or when a vehicle is parked under direct sunlight for extended periods, can accelerate the deterioration of the adhesive. The heat causes the glue to become brittle and lose its bonding strength, leading to sagging.
4. Improper Installation
Sometimes, a sagging headliner can be traced back to improper installation during manufacturing or when replacing the headliner. If the adhesive is not applied evenly or in sufficient quantity during installation, it may fail prematurely, causing the headliner to sag. Furthermore, inadequate stretching and securing of the fabric can lead to sagging over time.
5. Heavy Items and Rough Handling
Loading the vehicle’s interior with heavy items or exerting excessive force on the headliner can contribute to sagging. Placing heavy objects on the headliner or frequently pressing on it, such as when handling cargo or transporting large items, can strain the adhesive and cause it to weaken or detach from the ceiling.
How to Fix a Sagging Headliner Without Removing It
Adhesive Spray
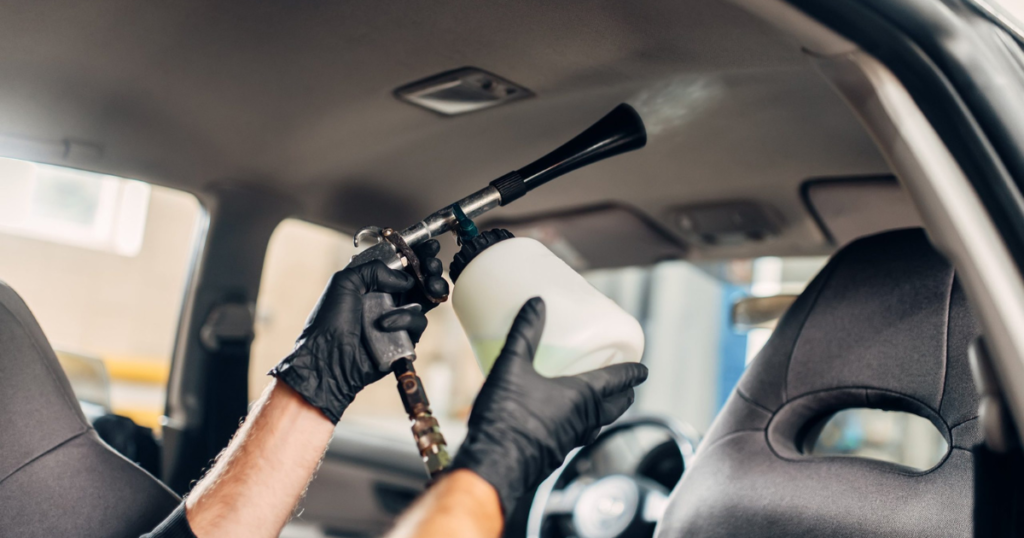
One effective solution for fixing a sagging headliner is using an adhesive spray. Start by cleaning the affected area with a mild soap and water solution, allowing it to dry completely.
Next, apply the adhesive spray generously to the back of the sagging headliner fabric and press it firmly against the roof. Smooth out any wrinkles or bubbles using a clean cloth or your hands. Allow the adhesive to dry per the manufacturer’s instructions before touching or applying additional pressure.
Fabric Glue
Fabric glue is another excellent option for fixing a sagging headliner. Begin by removing any loose or hanging fabric from the headliner board. Clean the surface with a mild detergent and let it dry thoroughly.
Apply fabric glue to the headliner board in a thin, even layer, ensuring you cover the entire area that requires fixing. Place the headliner fabric back onto the board, align it carefully, and press it firmly to ensure proper adhesion. Smooth out any wrinkles or creases gently using your hands. Allow the glue to dry completely before using the vehicle.
Push Pins or Velcro
If you prefer a non-permanent solution, push pins or Velcro can temporarily secure a sagging headliner. This method is beneficial if you want to make quick adjustments or plan to replace the headliner shortly. Start by removing any loose or hanging fabric from the headliner board.
Next, position the headliner fabric back onto the board, ensuring it is appropriately aligned. Use push pins or Velcro strips at strategic points along the edges of the headliner to secure it to the board. Be careful not to damage the fabric or the board when inserting the push pins. This method allows for easy removal and adjustment whenever necessary.
Steam Method
Sometimes, a sagging headliner can be caused by the fabric losing its original shape due to humidity or heat. A steamer can help restore the fabric’s shape and tighten it against the headliner board. Start by cleaning the affected area to remove any dirt or grime.
Use a handheld garment steamer or a steam iron to direct steam onto the sagging areas. As the fabric absorbs the moisture, it will expand and tighten. Apply light pressure with a clean cloth or your hands to smooth out wrinkles. Allow the headliner to dry entirely before driving your vehicle.
Replacing a Headliner in Your Vehicle
Replacing a headliner is a task that many car owners may need to tackle at some point in their vehicle’s lifespan. The headliner is the material that lines the roof of a car’s interior; over time, it can become saggy, stained, or damaged. If your car’s headliner needs replacing, here’s a step-by-step guide to get the job done.
Gather Materials and Tools
Before you start the replacement process, you will need to gather the following tools and materials:
- New headliner material
- Headliner adhesive
- Scissors or a utility knife
- Screwdriver or trim removal tool
- Wire brush or sandpaper
- Paintbrush
- Gloves
Remove the Old Headliner
The first step in replacing a headliner is to remove the old one. Start by eliminating accessories, such as the dome light or sun visors. Then, carefully peel the old headliner off the roof of the car. Be sure to remove all of the old adhesives as well.
Clean the Roof
Once the old headliner is removed, use a wire brush or sandpaper to remove any remaining adhesive or debris from the car’s roof. Be sure to wear gloves to protect your hands from any sharp edges or debris.
Cut the New Headliner Material
Lay the new headliner material out flat and use scissors or a utility knife to cut it to the appropriate size and shape for your car’s roof. Be sure to leave some extra material around the edges to allow for trimming.
Apply Adhesive
Use a paintbrush to apply headliner adhesive to the roof of the car. Be sure to follow the instructions on the bond carefully, as different types may have other drying times or application methods.
Install the New Headliner
Carefully lay the new headliner material onto the car’s roof, smoothing it out as you go. Be sure to pull it tight to avoid any sagging or wrinkles. Trim any excess material using scissors or a utility knife.
Reinstall Accessories
Once the new headliner is in place, reinstall any accessories removed in Step 2, such as the dome light or sun visors.
Let Dry
Allow the adhesive to dry completely according to the instructions on the product.
Clean and Enjoy
Once the adhesive is dry, your new headliner is ready to use! Take some time to clean the rest of the car’s interior and enjoy your refreshed, clean roof.
How to maintain a car’s headliner?
The headliner of a car is the fabric that covers the ceiling of the vehicle’s interior. Over time, it can become dirty, stained, or sagging. Maintaining the headliner is crucial to ensure a comfortable and visually appealing driving experience.
1. Keep it clean
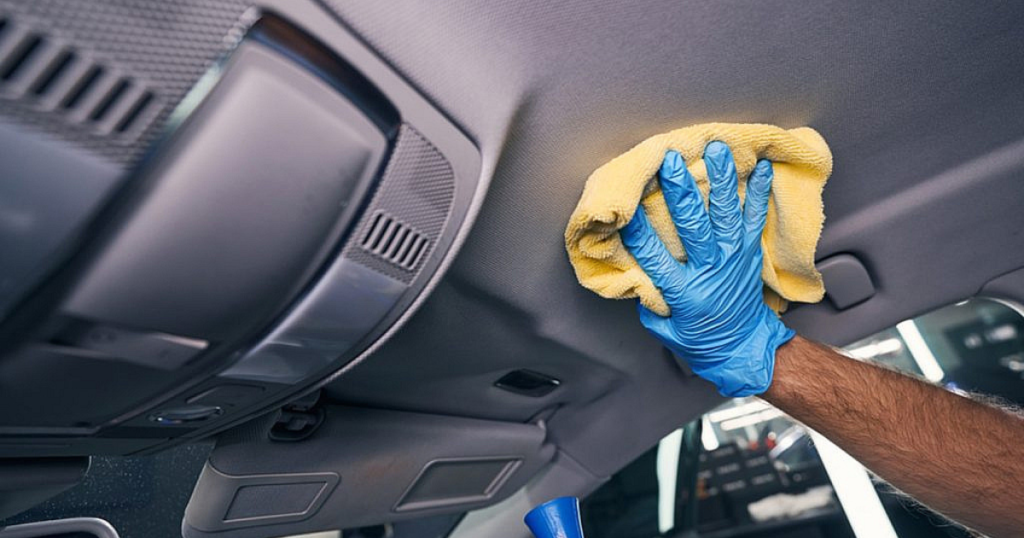
Regularly vacuuming the car’s interior will help keep the headliner clean. Use a soft brush attachment to avoid damaging the fabric. If there are any stains on the headliner, use a mild detergent and water solution to clean the affected area gently.
Avoid harsh chemicals or abrasive cleaning agents, which can damage the fabric. Always test the cleaning solution on a small, inconspicuous area first to ensure it does not damage the headliner.
2. Avoid contact with sharp objects
Avoid contact with sharp objects such as keys, pens, and other similar items, as they can scratch or tear the headliner. If you have pets, ensure their claws do not contact the headliner.
3. Keep the car cool
Excessive heat can cause the headliner to sag or become loose. Park the car in a shaded area or use a sunshade to protect the interior from direct sunlight. If the headliner is fading, avoid driving the vehicle in extreme heat, worsening the problem.
4. Avoid using adhesive sprays
Do not use adhesive sprays to fix a sagging headliner. These sprays can damage the fabric and make it difficult to repair the headliner. Instead, seek the services of a professional to improve the sagging headliner.
5. Repair sagging headliner
If the headliner is sagging, seek the services of a professional to repair it. A sagging headliner can obstruct the driver’s view, making driving unsafe. A professional can either replace the entire headliner or fix the existing one.
6. Use a protective spray
Using a protective spray can help prevent stains and keep the headliner clean. Look for bouquets designed explicitly for car headliners and follow the instructions carefully.
Conclusion
A sagging headliner no longer needs to be a headache that requires complete removal. You can quickly and easily fix a sagging headliner without removing it by using adhesive spray, fabric glue, push pins, Velcro, or steam treatment.
Remember to choose the method that best suits your needs and preferences, and always follow the instructions provided by the product manufacturers. With these simple solutions, you can restore your vehicle’s headliner and enjoy a refreshed interior in no time.


